
Data exports
Paystack businesses can export CSV files containing records of associated data from the following pages on the Dashboard:
CSV stands for ‘Comma-Separated Values.’ It’s a simple text file format used to store tabular data, where each line of the file represents a row, and commas separate the values within each row. CSV files are commonly used for data exchange between different software applications because they are easy to read, write and process.
Benefits of the CSV file format for download include:
Simplicity: CSV files have a straightforward structure, making them easy to create and understand.
Compatibility: CSV is a widely supported format that can be opened and manipulated by various spreadsheet and database programs, such as Microsoft Excel, Google Sheets and databases like MySQL.
Versatility: CSV files can store various data types, including text and numbers, making them versatile for different applications.
Compactness: CSV files are relatively small in size compared to other file formats, which is beneficial for faster downloads and reduced storage space.
Ease of editing: Users can easily open and edit CSV files using common text editors or spreadsheet software.
Getting data exports from the Dashboard
To export data from any of the pages listed above, go to the page you want to export from and click the Export CSV button at the top-right corner.

Click Export CSV at the top-right corner of the page.
If the page supports both email delivery and direct download, an export window will open. From here, choose All time or a Custom date range, then select how you want to receive the file.
Select Send to email to receive a link to the file at your user email. We recommend this option for large exports and records that are more than three years old.
Select Download CSV to download the file directly to your browser. This option is best for smaller exports from the last three years.
Then, click the export button to continue.
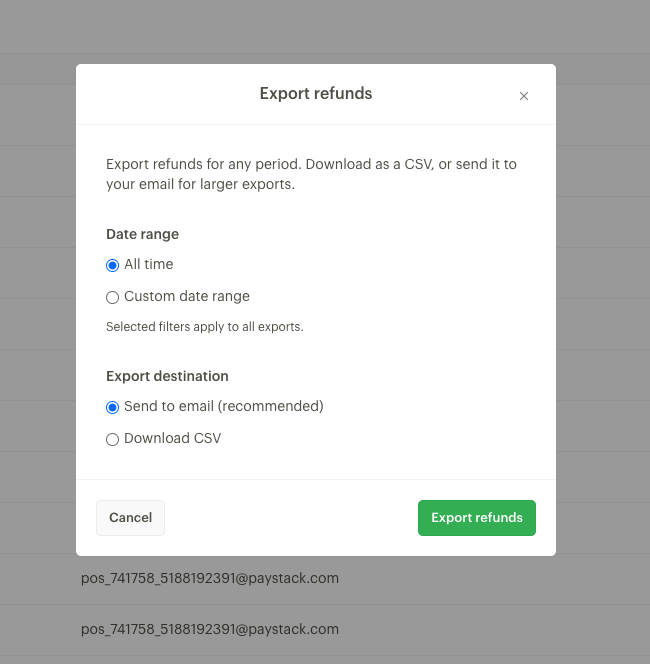
Your Dashboard shows records from a rolling three-year period. Records that are more than three years old will no longer appear in your Dashboard view. To export your complete history, select All time and Send to email. The Download CSV option only includes records from the last three years.
If a page only supports direct download, such as the Subscriptions page, click the export button to download the CSV file.
Kindly note that if you’ve applied a filter to the page, the export will contain only the filtered records.
We will take a deep dive into exports for Transactions, Transfers and Balance on the Dashboard, as they are the most commonly requested exports.
Transactions export
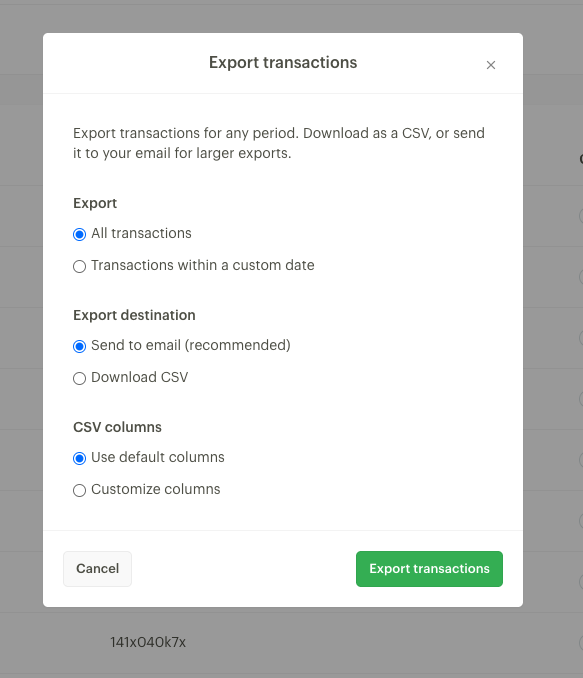
On the Transactions page, you can download your data directly to your browser or receive a link at your user email. Click Export CSV to open the export window, then choose the transactions you want to export, your export destination and the columns you want in the file.
Quick Download
The Download CSV option lets you immediately download your transaction records to your browser. This option is best for smaller exports and only includes records from the last three years.
Kindly note that if you’ve applied a filter to the page, the export will contain only the filtered records.
Comprehensive export (Send to email)
The Send to email option allows you to export a more comprehensive and customized spreadsheet of your transaction records. You can use this option for larger exports and to access your complete transaction history, including records that are more than three years old.
Before submitting the export, choose the columns you want the CSV file to contain:
Select Use default columns to include Paystack’s standard transaction fields. This option works well when you do not need to choose each field yourself.
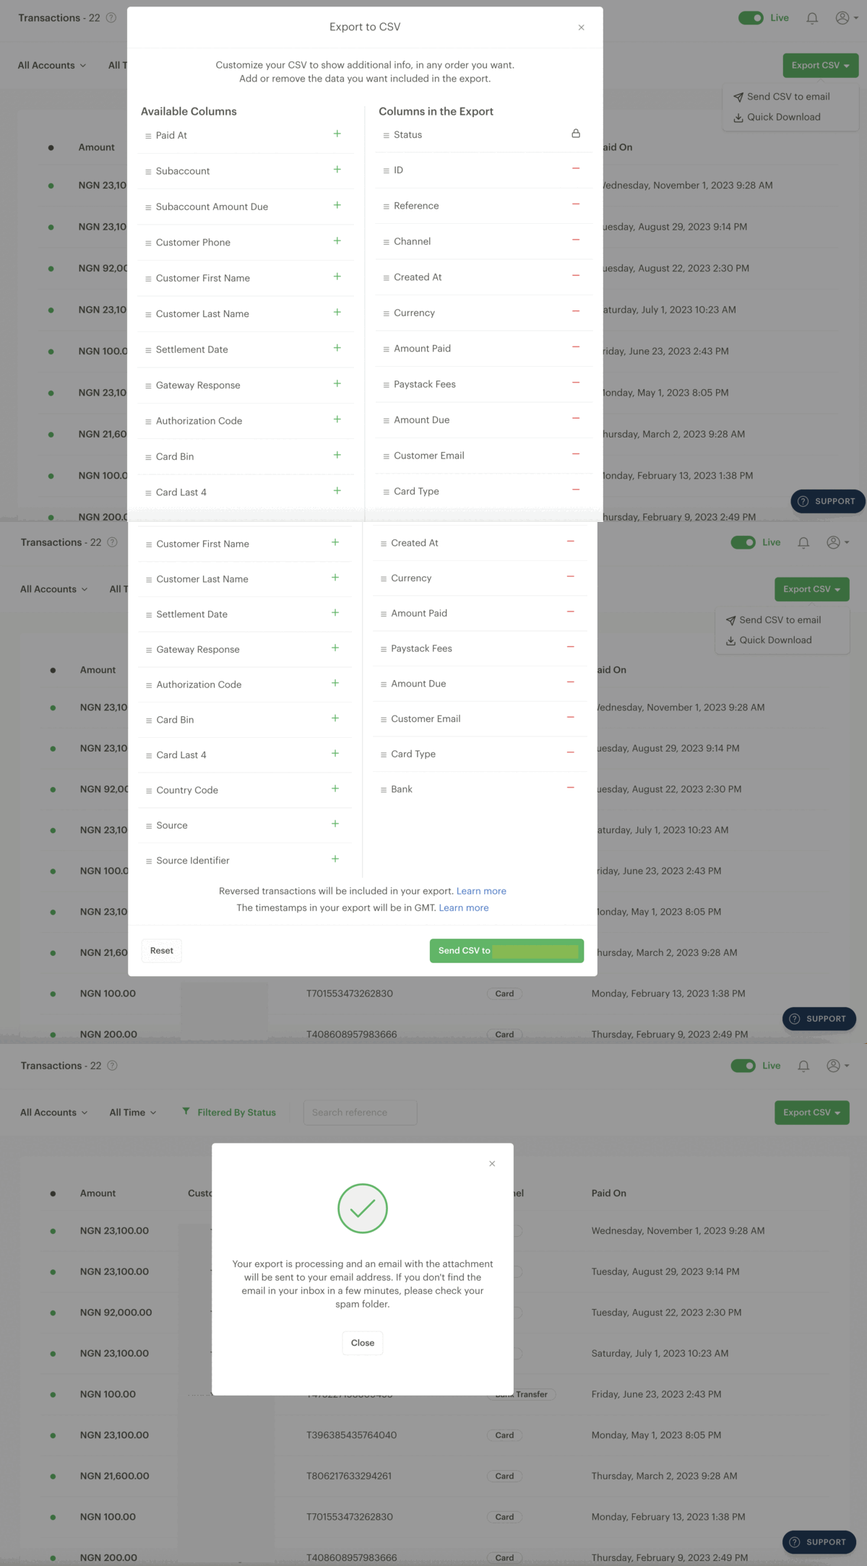
Select Customize columns to choose the exact information you want in the file. This helps you keep the export focused on the information you need and also allows you to include any custom fields you may have created.
If you select Use default columns, click Export transactions to submit the request.
If you select Customize columns, click Export transactions to continue to the column selection screen. The Available Columns section shows the available information that hasn’t been added to the export yet, while the Columns in the Export section shows the columns that have been added. You can add or remove columns from either side by using the + (add) or − (remove) signs beside each field on the list. Once you’re happy with your selection, click the export button to submit the request.
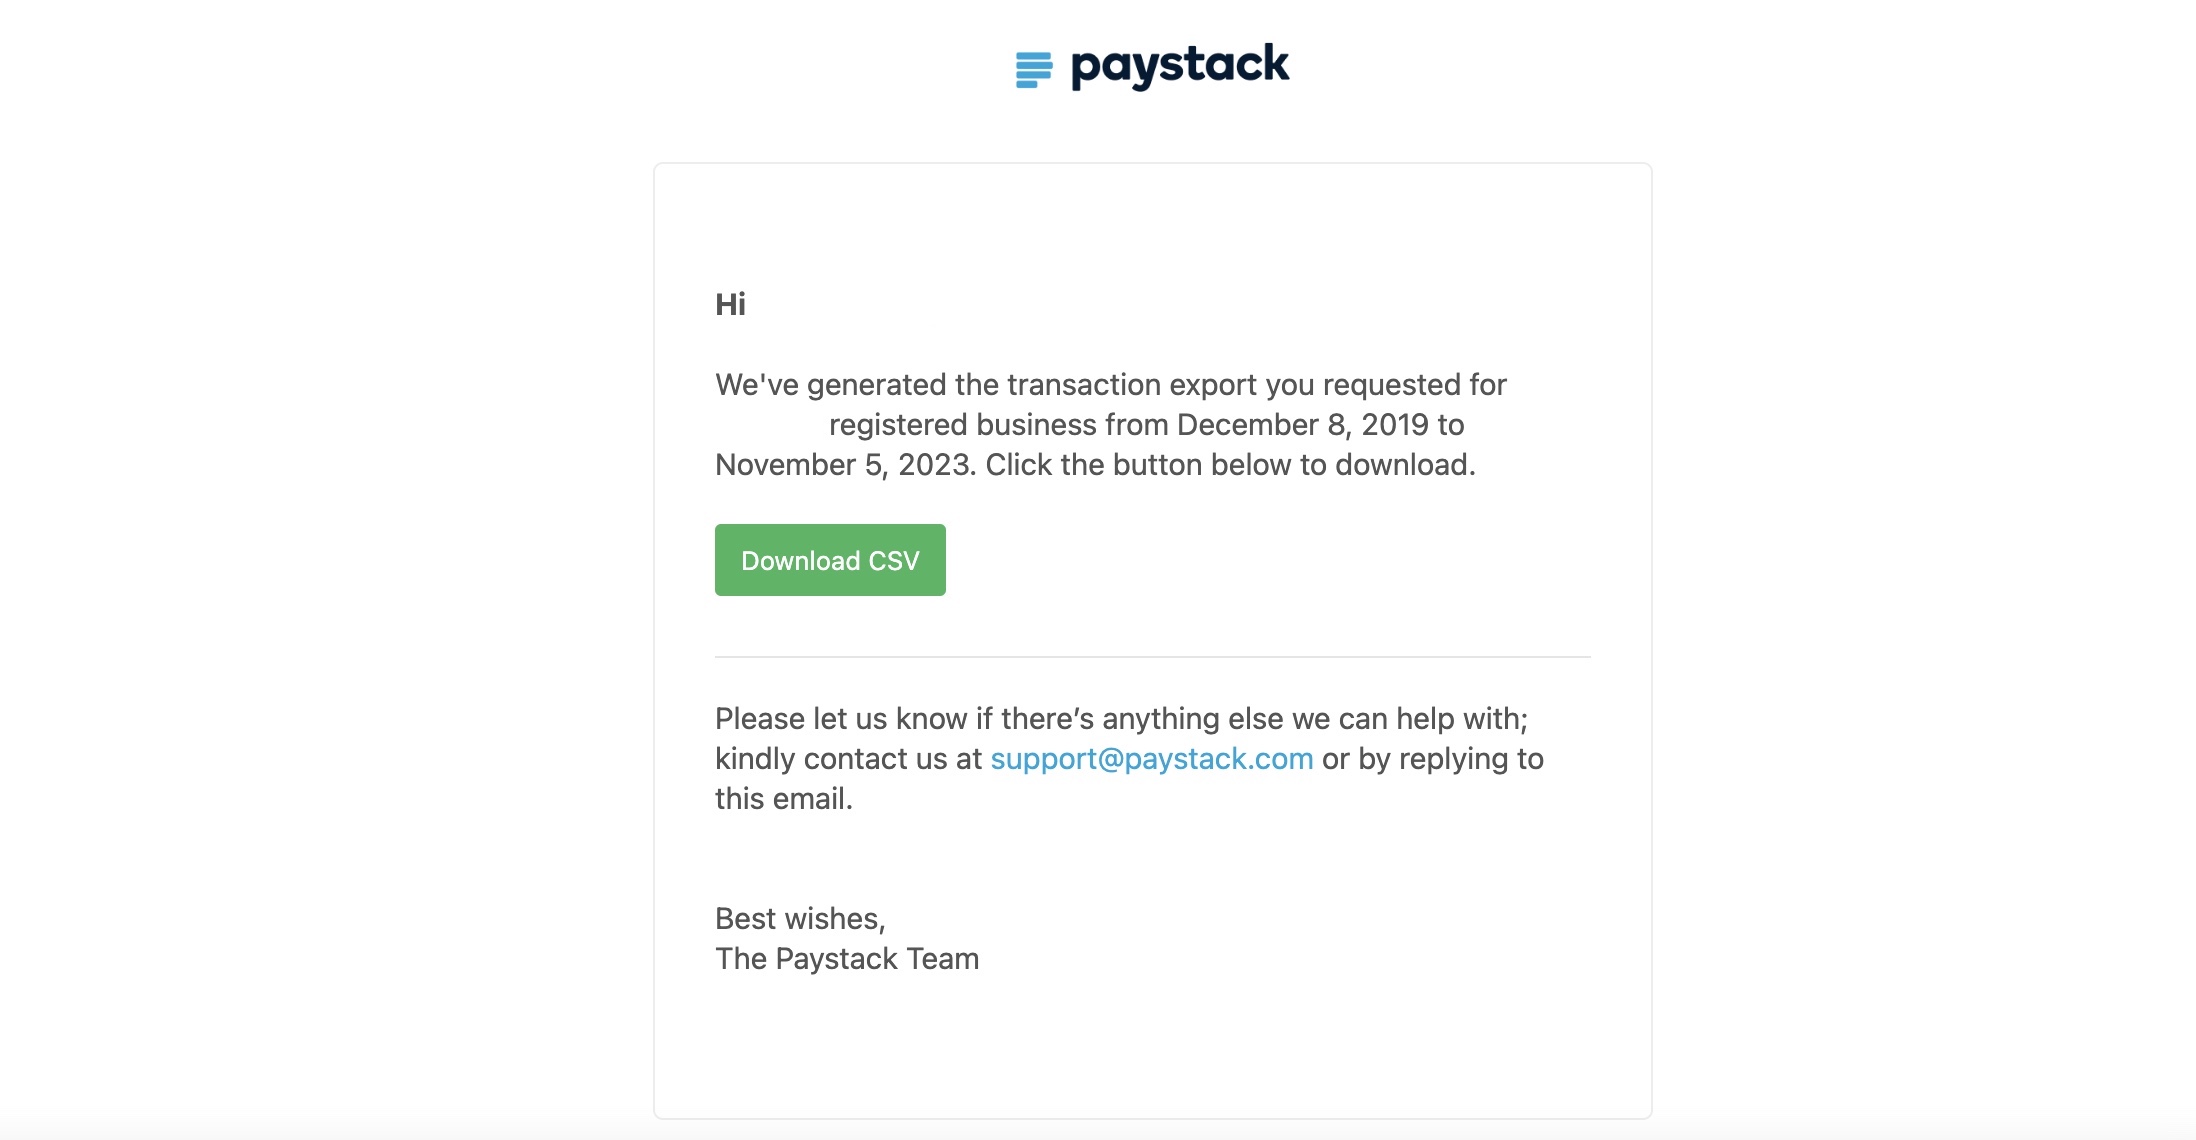
If you selected Send to email, the CSV file will be sent to your user email. Click the Download CSV button in the email to get your file. Here’s an example of what the email looks like:
Kindly note that if you’ve applied a filter to the page, the export will contain only the filtered records.
Reversed transactions in your export
When exporting successful transactions on your Paystack Dashboard, we will include reversed transactions that were previously successful to make reconciliations easier. This means that when you filter for successful transactions and click Export CSV, you will see both successful and reversed transactions in the CSV file. Reversed transactions will have a reversed status so you can easily tell them apart from successful transactions.
This is also the case when you want to view successful transactions on your Dashboard. If you filter by successful, you can see both successful and reversed transactions.
Another thing to note is that reversed transactions add to the total successful transaction count near the top-left corner of the Transactions page. This gives a true picture of the number of successful transactions that have been made to your business.
This means that when you filter for successful transactions, the transaction count at the top-left corner of the page will include both successful and reversed transactions.
Transfers and Balance export
On the Transfers and Balance pages, you can download your data directly to your browser or receive a link at your user email. Click Export CSV, choose the date range you need and select your export destination.
Quick Download
The Download CSV option lets you immediately download your records to your browser. It is best for smaller exports and only includes records from the last three years.
Kindly note that if you’ve applied a filter to the page, the export will contain only the filtered records.
Comprehensive export (Send to email)
The Send to email option prepares the CSV file and sends a download link to your user email. Use this option for larger exports, your complete history or records that are more than three years old. Click the Download CSV button in the email to get your file.
Important to note
The quick download option is only advisable for businesses with small transaction data. It may time out when a business tries to download a large amount of data, so we recommend using the Send CSV to email option for larger exports.
Financial report
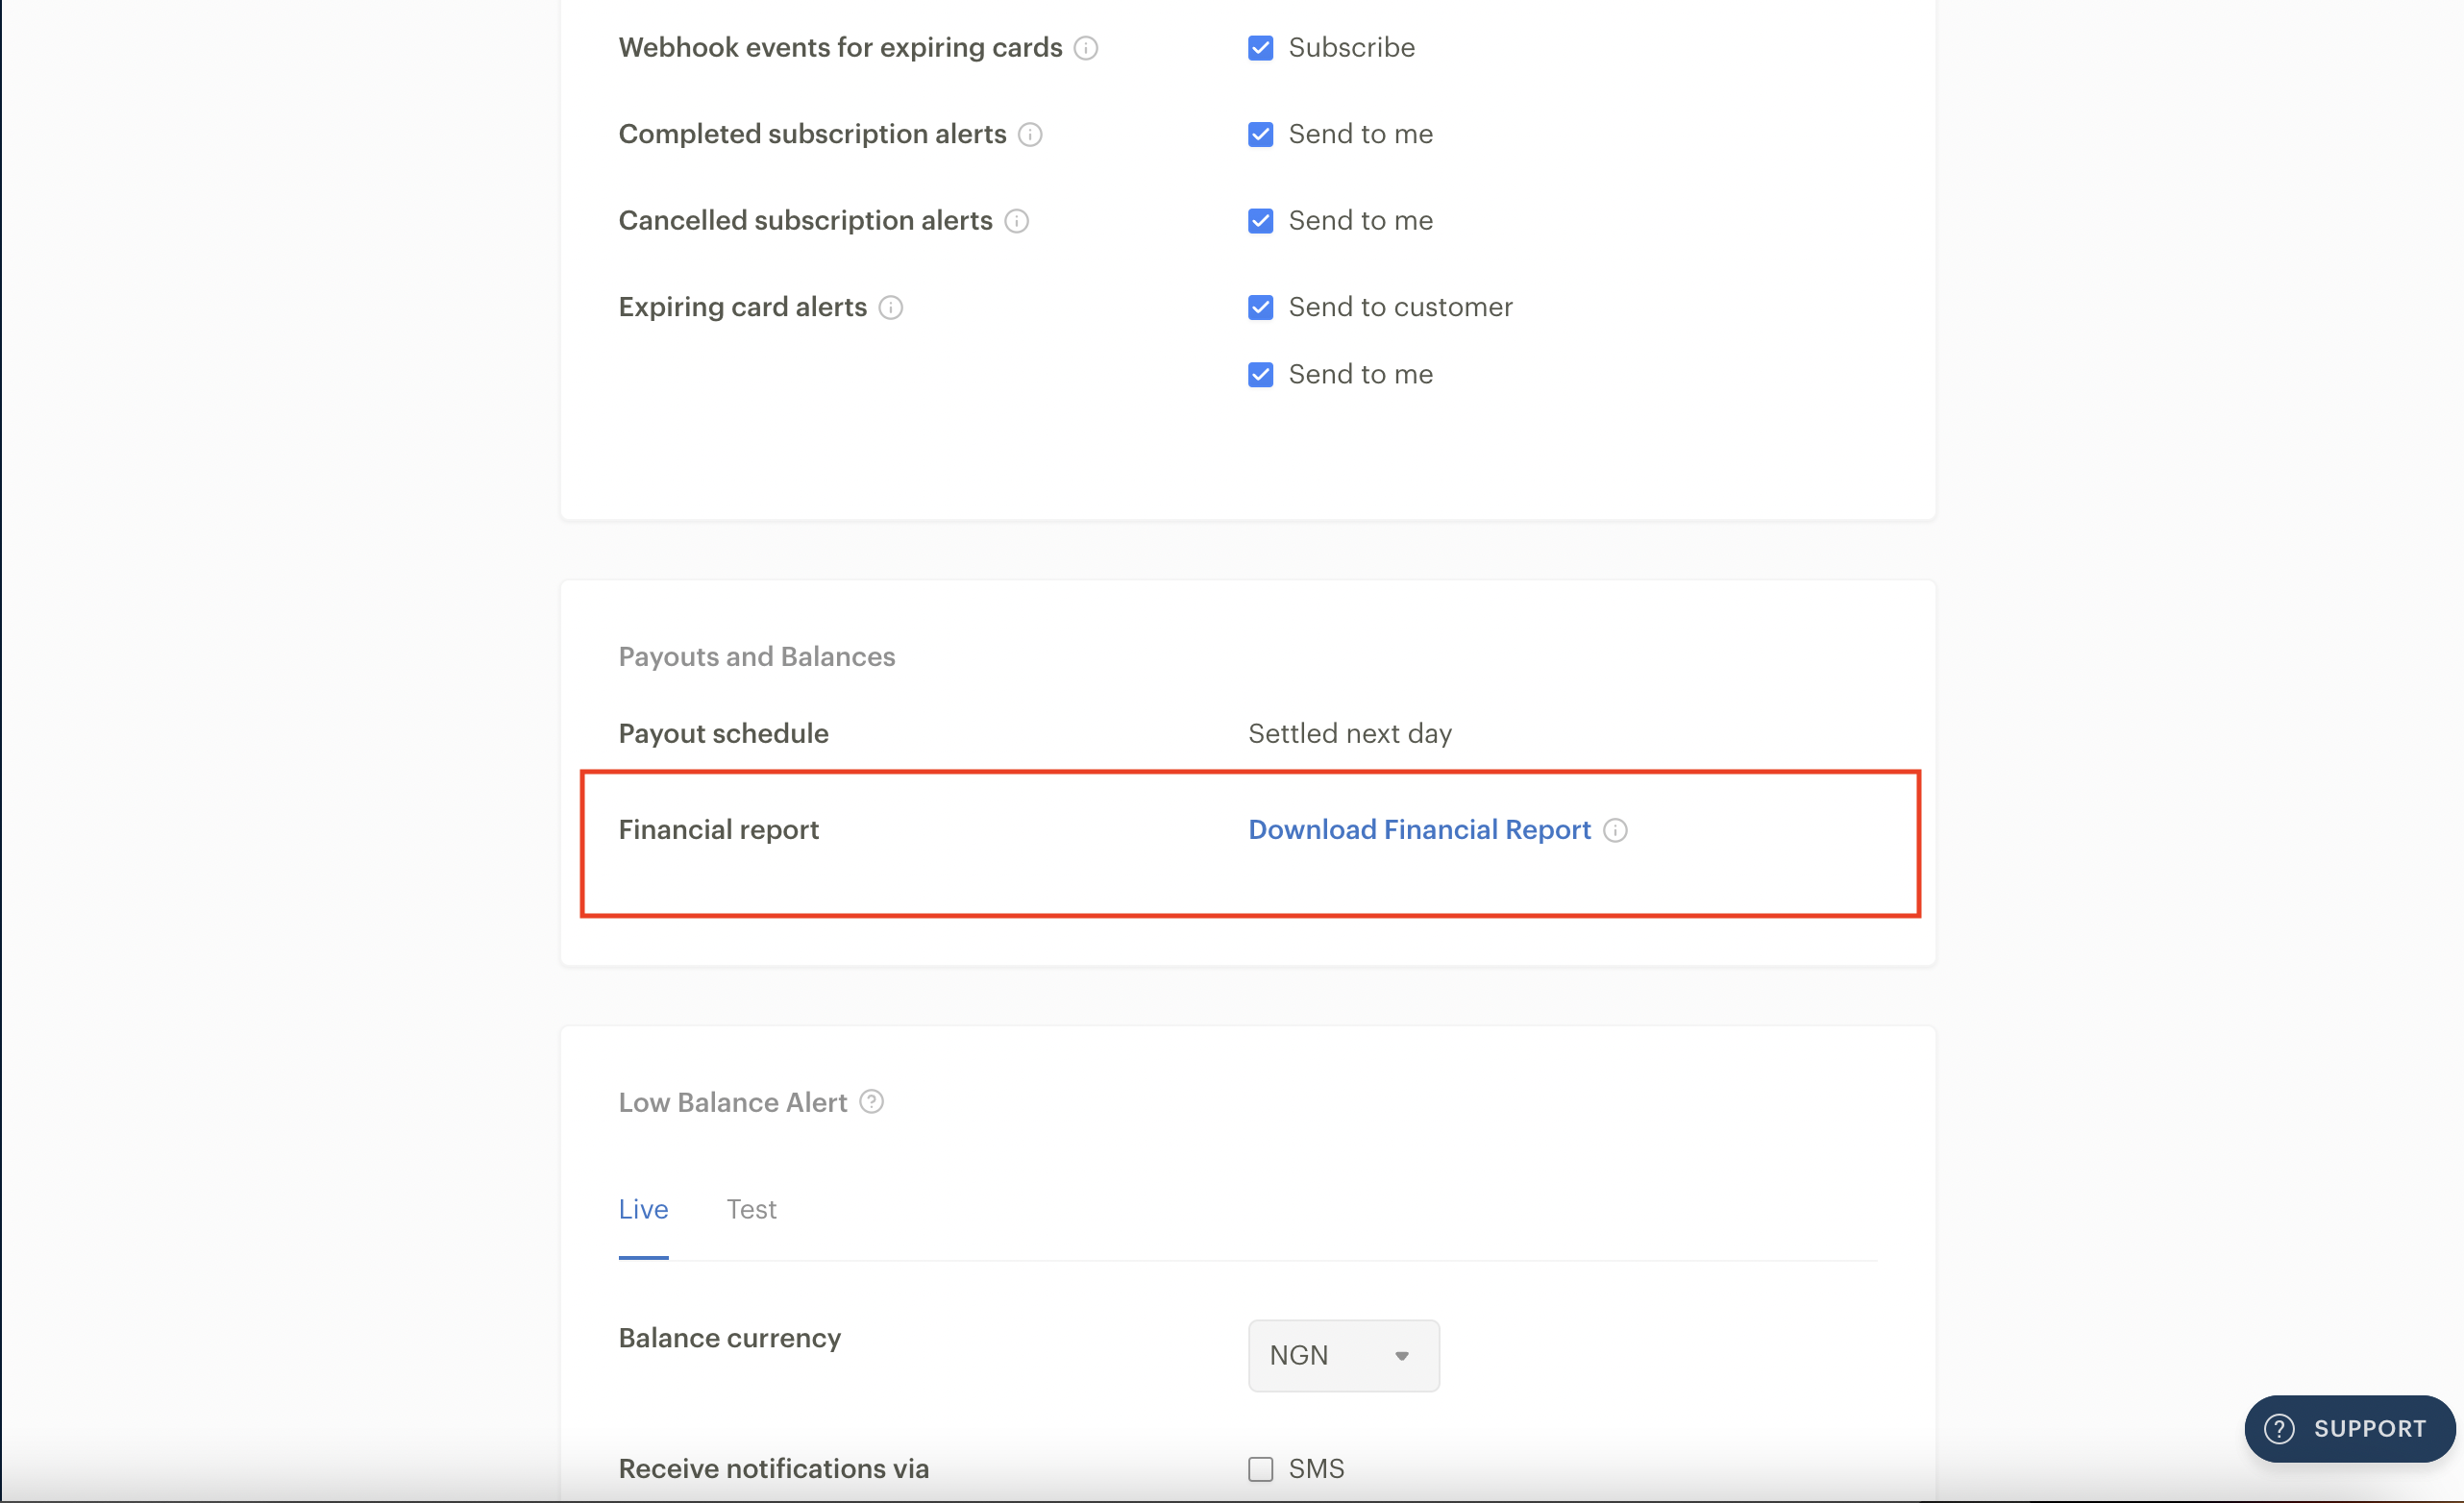
A Paystack Financial Report summarizes all changes to your Paystack balance, including top-ups, transfers and charges. To download this report, go to the Preferences tab on your Dashboard and scroll until you get to the Payouts and Balances section.
In this section, you will find a Download Financial Report button. Click on it to get your report.
Please feel free to reach out to us via email at support@paystack.com or via our contact form if you do not receive your file within 20 minutes or have any questions.