
How to Enable Currency Presentment on the Paystack - Shopify Plugin
Overview
Many Shopify merchants want the flexibility to charge customers in a specific currency, especially when their store’s base currency differs from the currency used in their target market. For example, a store may be set up in USD, but the merchant wants Nigerian and South African customers to see prices and complete checkout in NGN and ZAR.
To solve this, the Paystack x Shopify plugin now supports Currency Presentment, allowing you to choose the currency customers see at checkout, regardless of your Shopify store’s base currency.
In this guide, we’ll walk through how to enable the feature using the Paystack settings page.
What do you get from this?
Show prices in local currency for customers
Accept payments in that currency
Receive settlement in your default Paystack currency
Reduce checkout errors and improve conversion
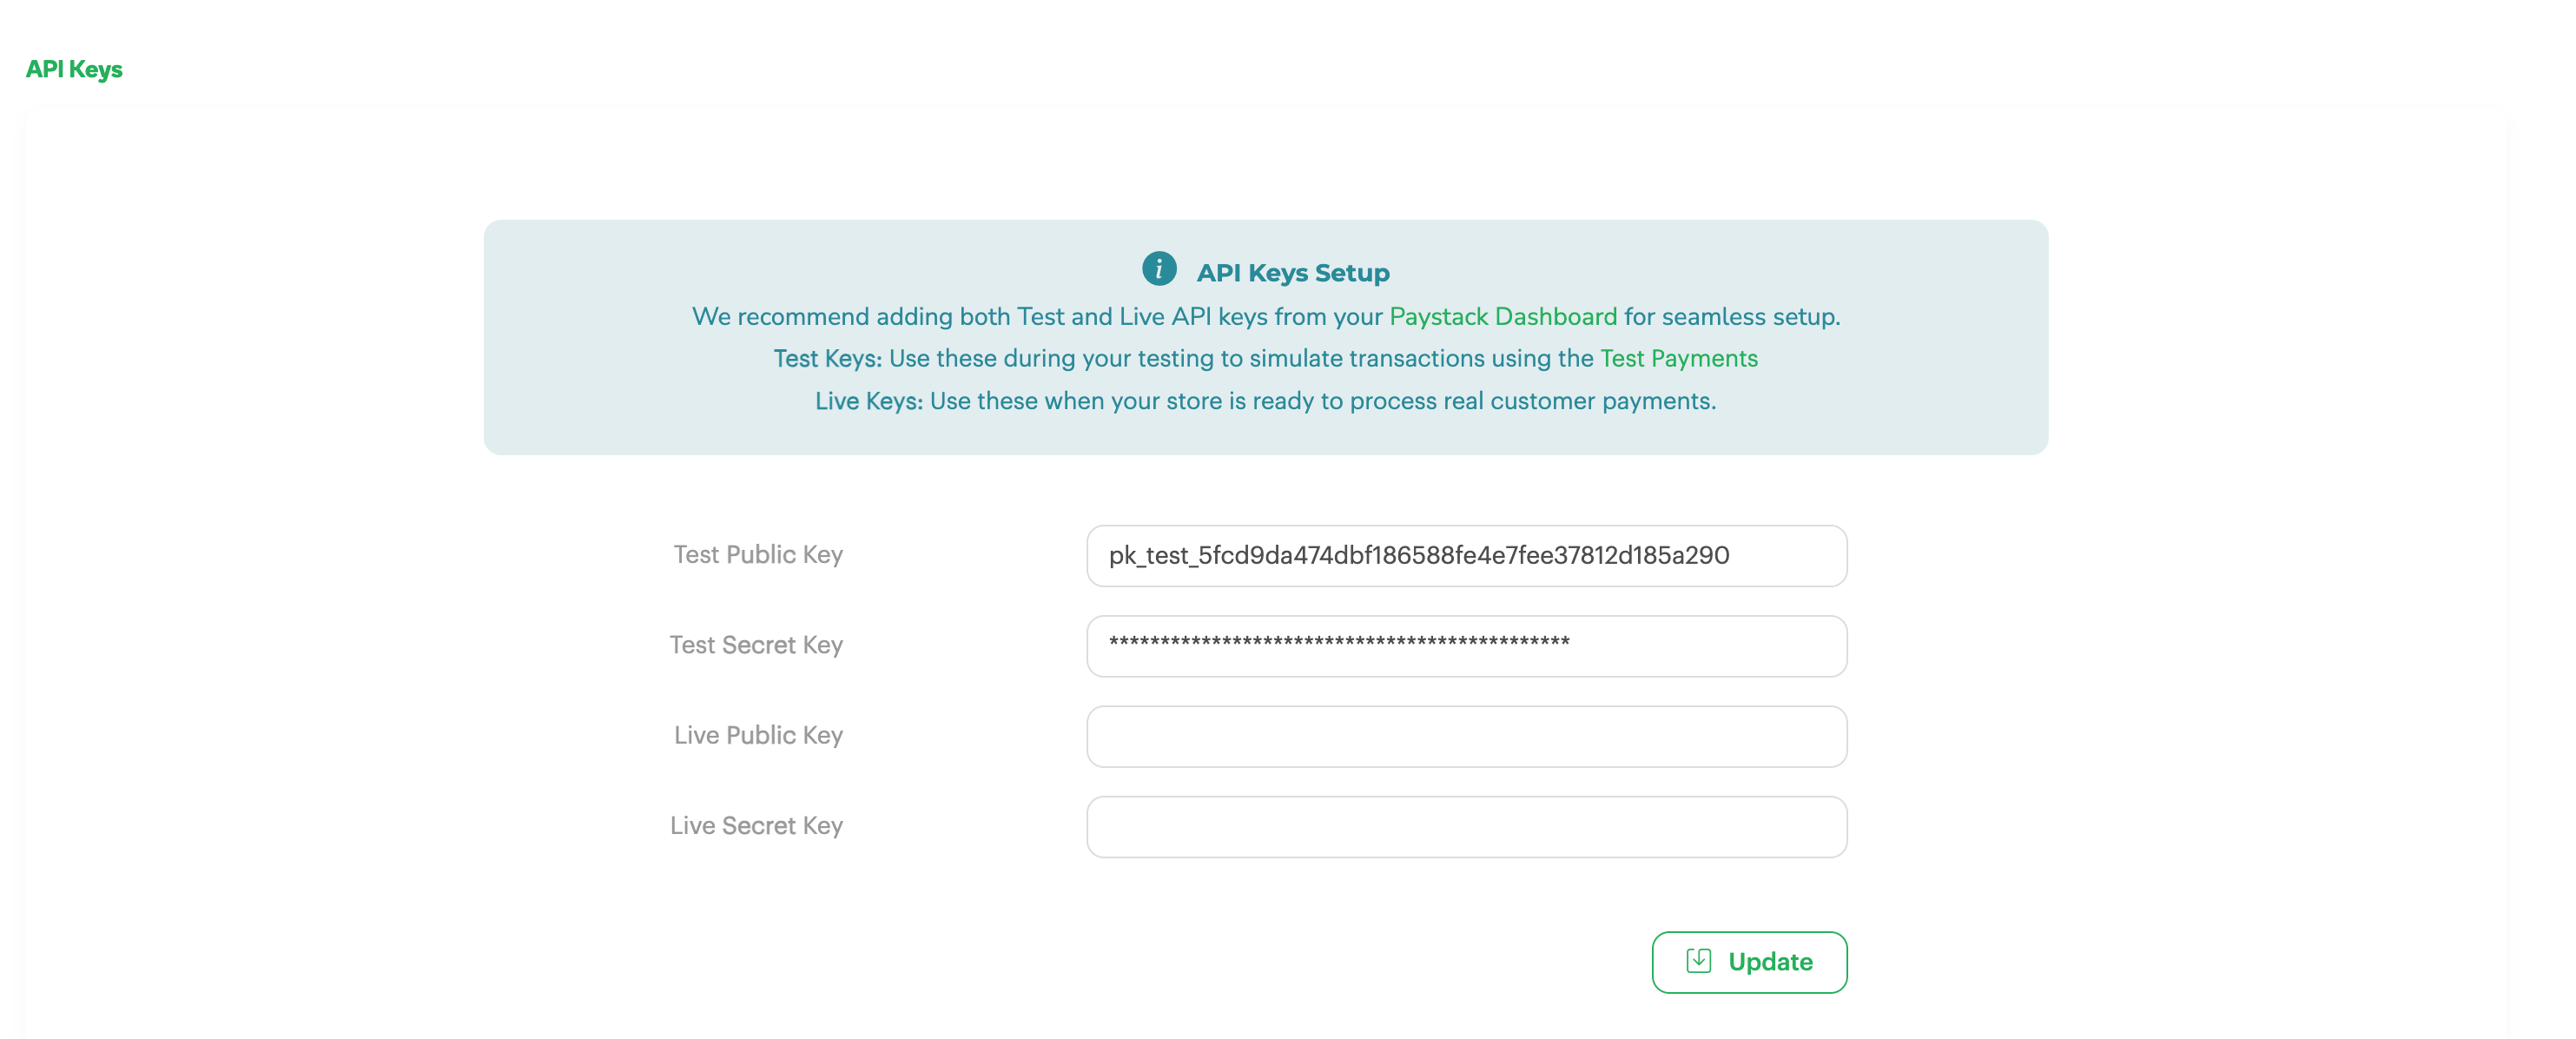
Step 1: Enter Your Paystack API Keys
Instructions:
Once you arrive on the Paystack settings page in Shopify
Enter your Public Key and Secret Key in the corresponding fields.
Ensure the keys match the environment (Live or Test).
Screenshot:
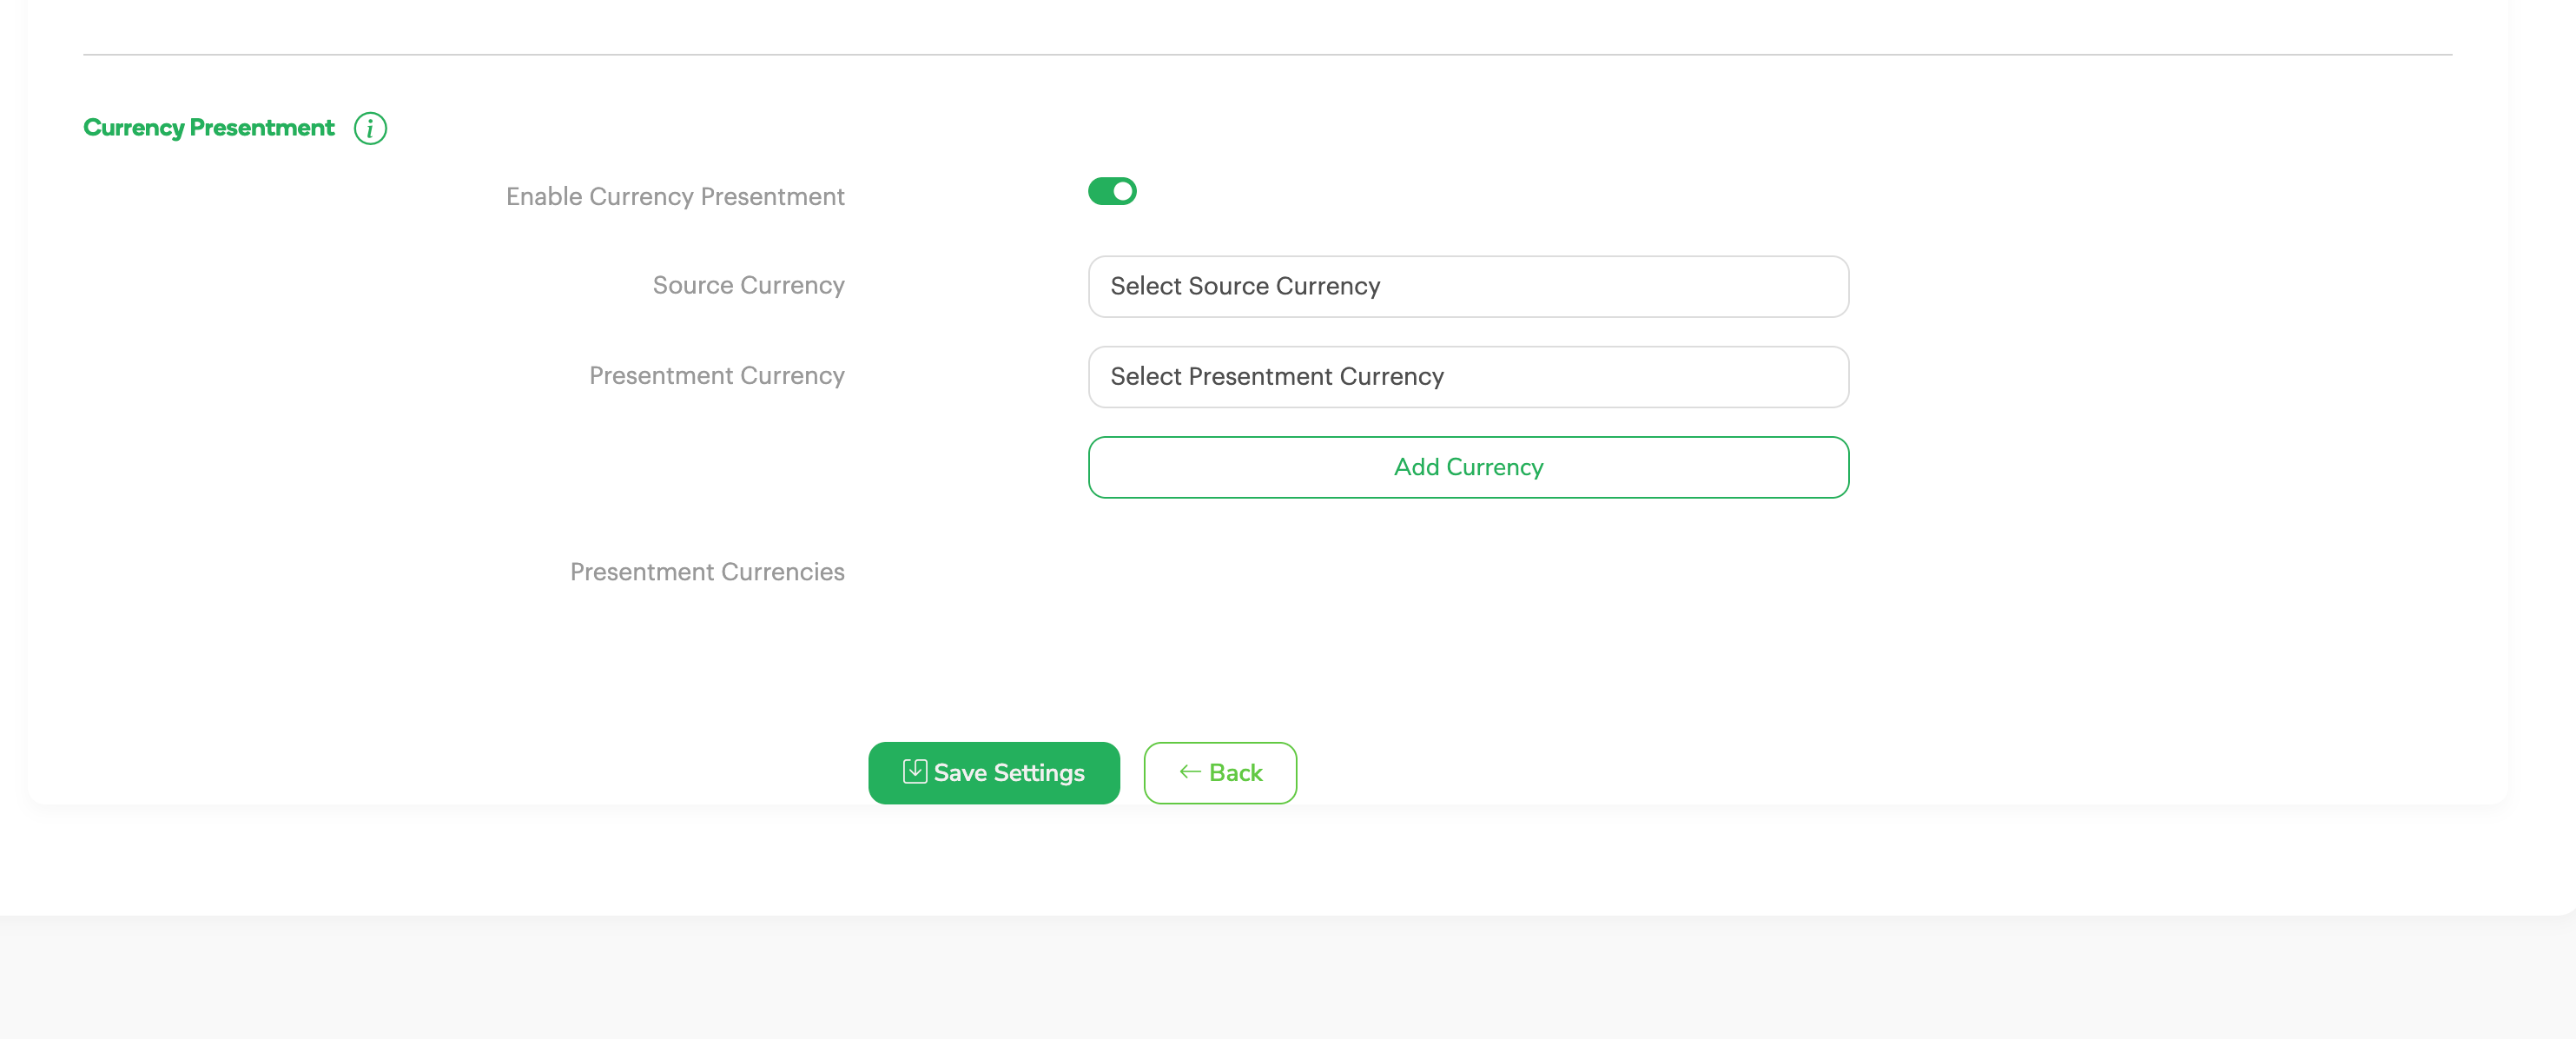
Step 2: Enable Currency Presentment
Instructions:
Scroll down to “Enable Currency Presentment”.
Toggle it ON.
Screenshot:
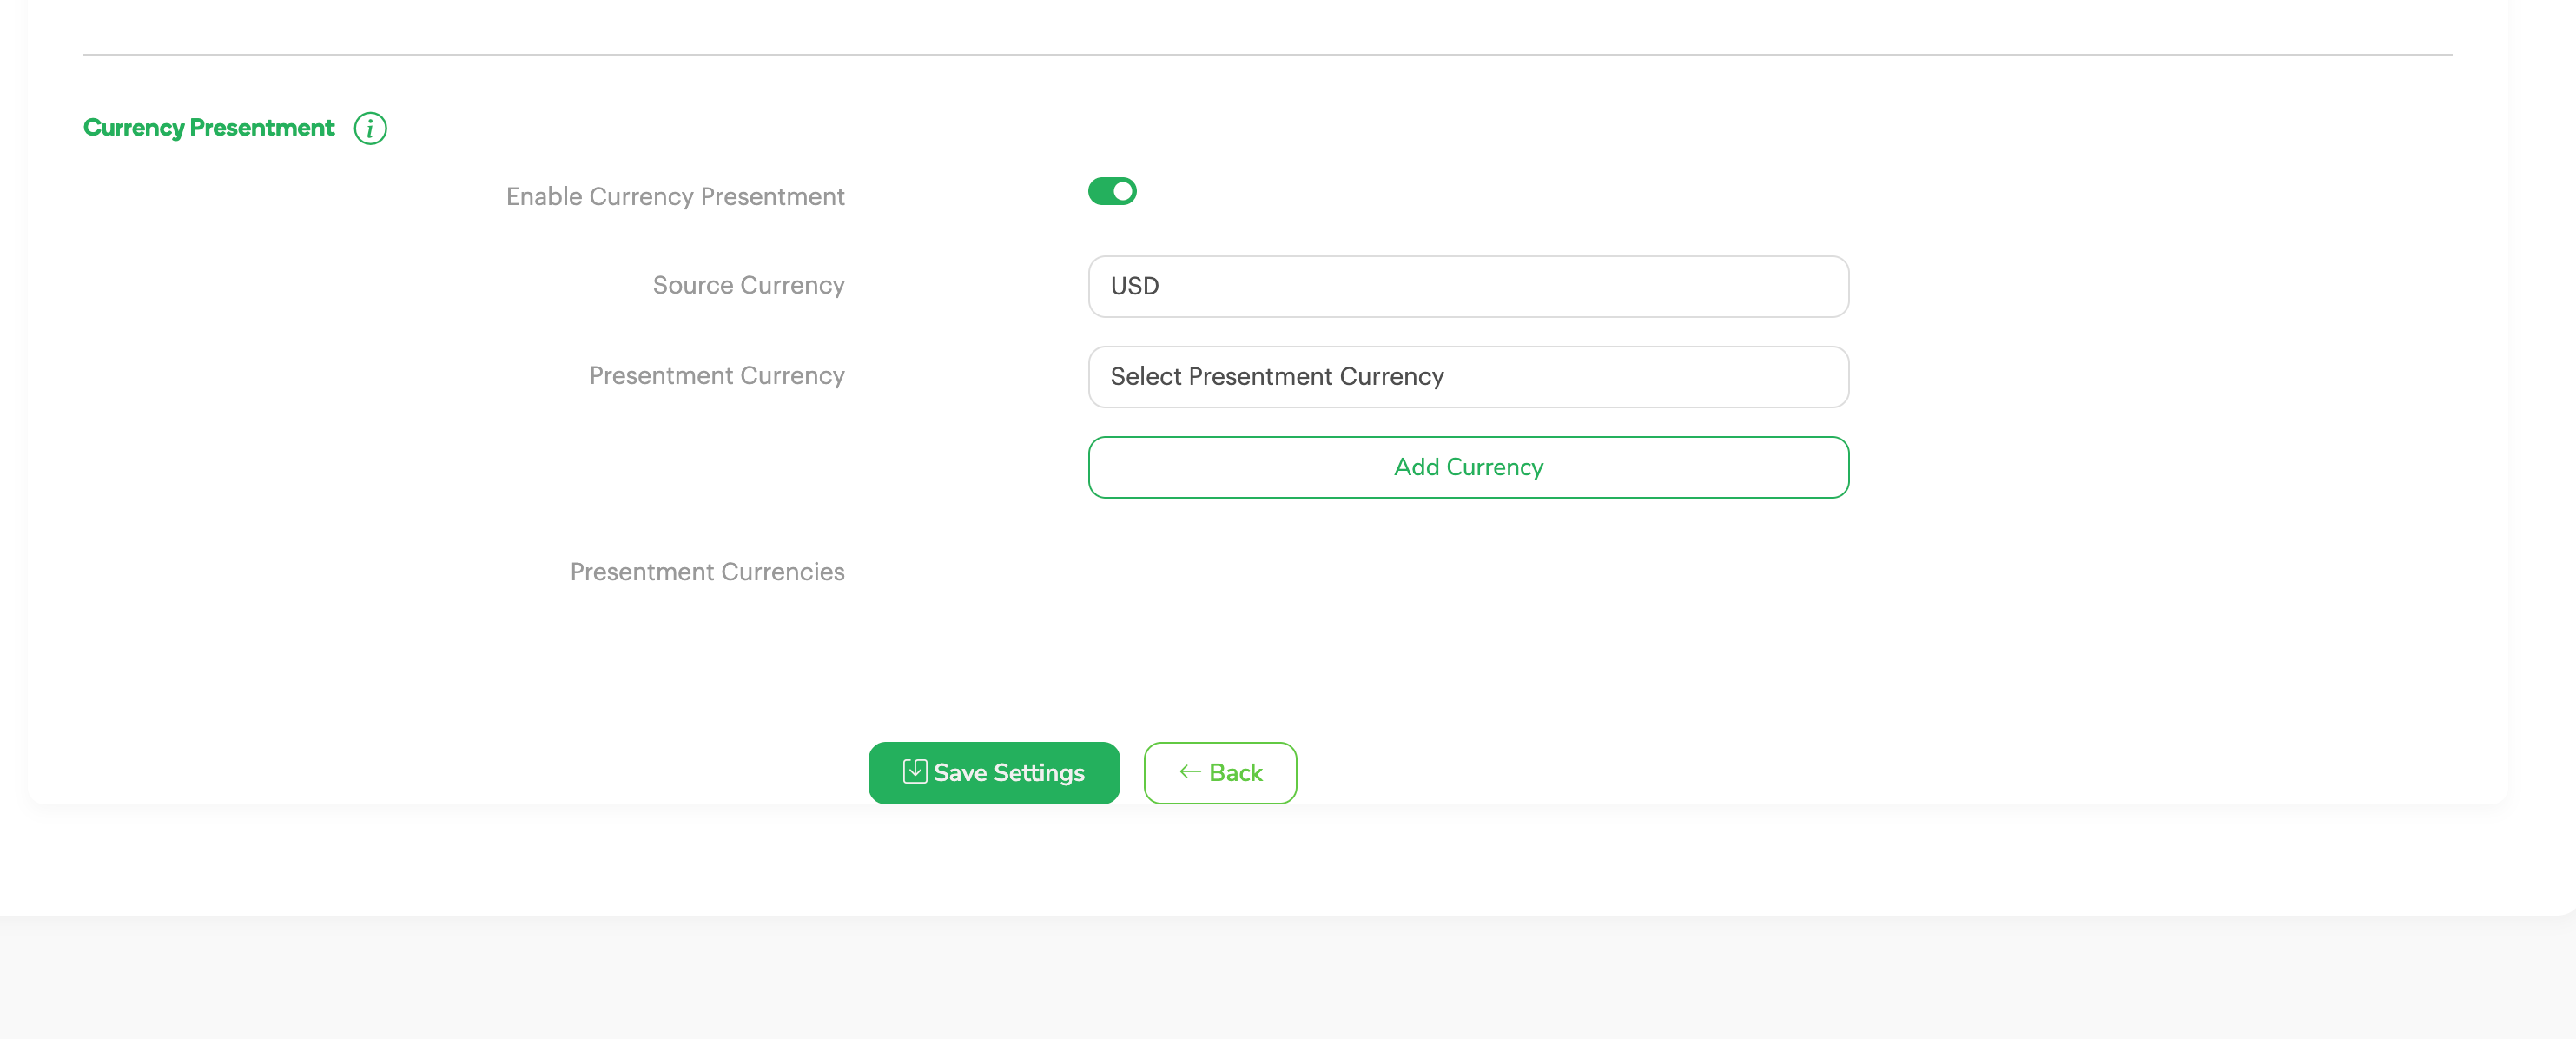
Step 3: Select Your Source Currency
Instructions:
Select the currency your Shopify store is configured to use (e.g., USD).
This is your default store currency.
Screenshot:
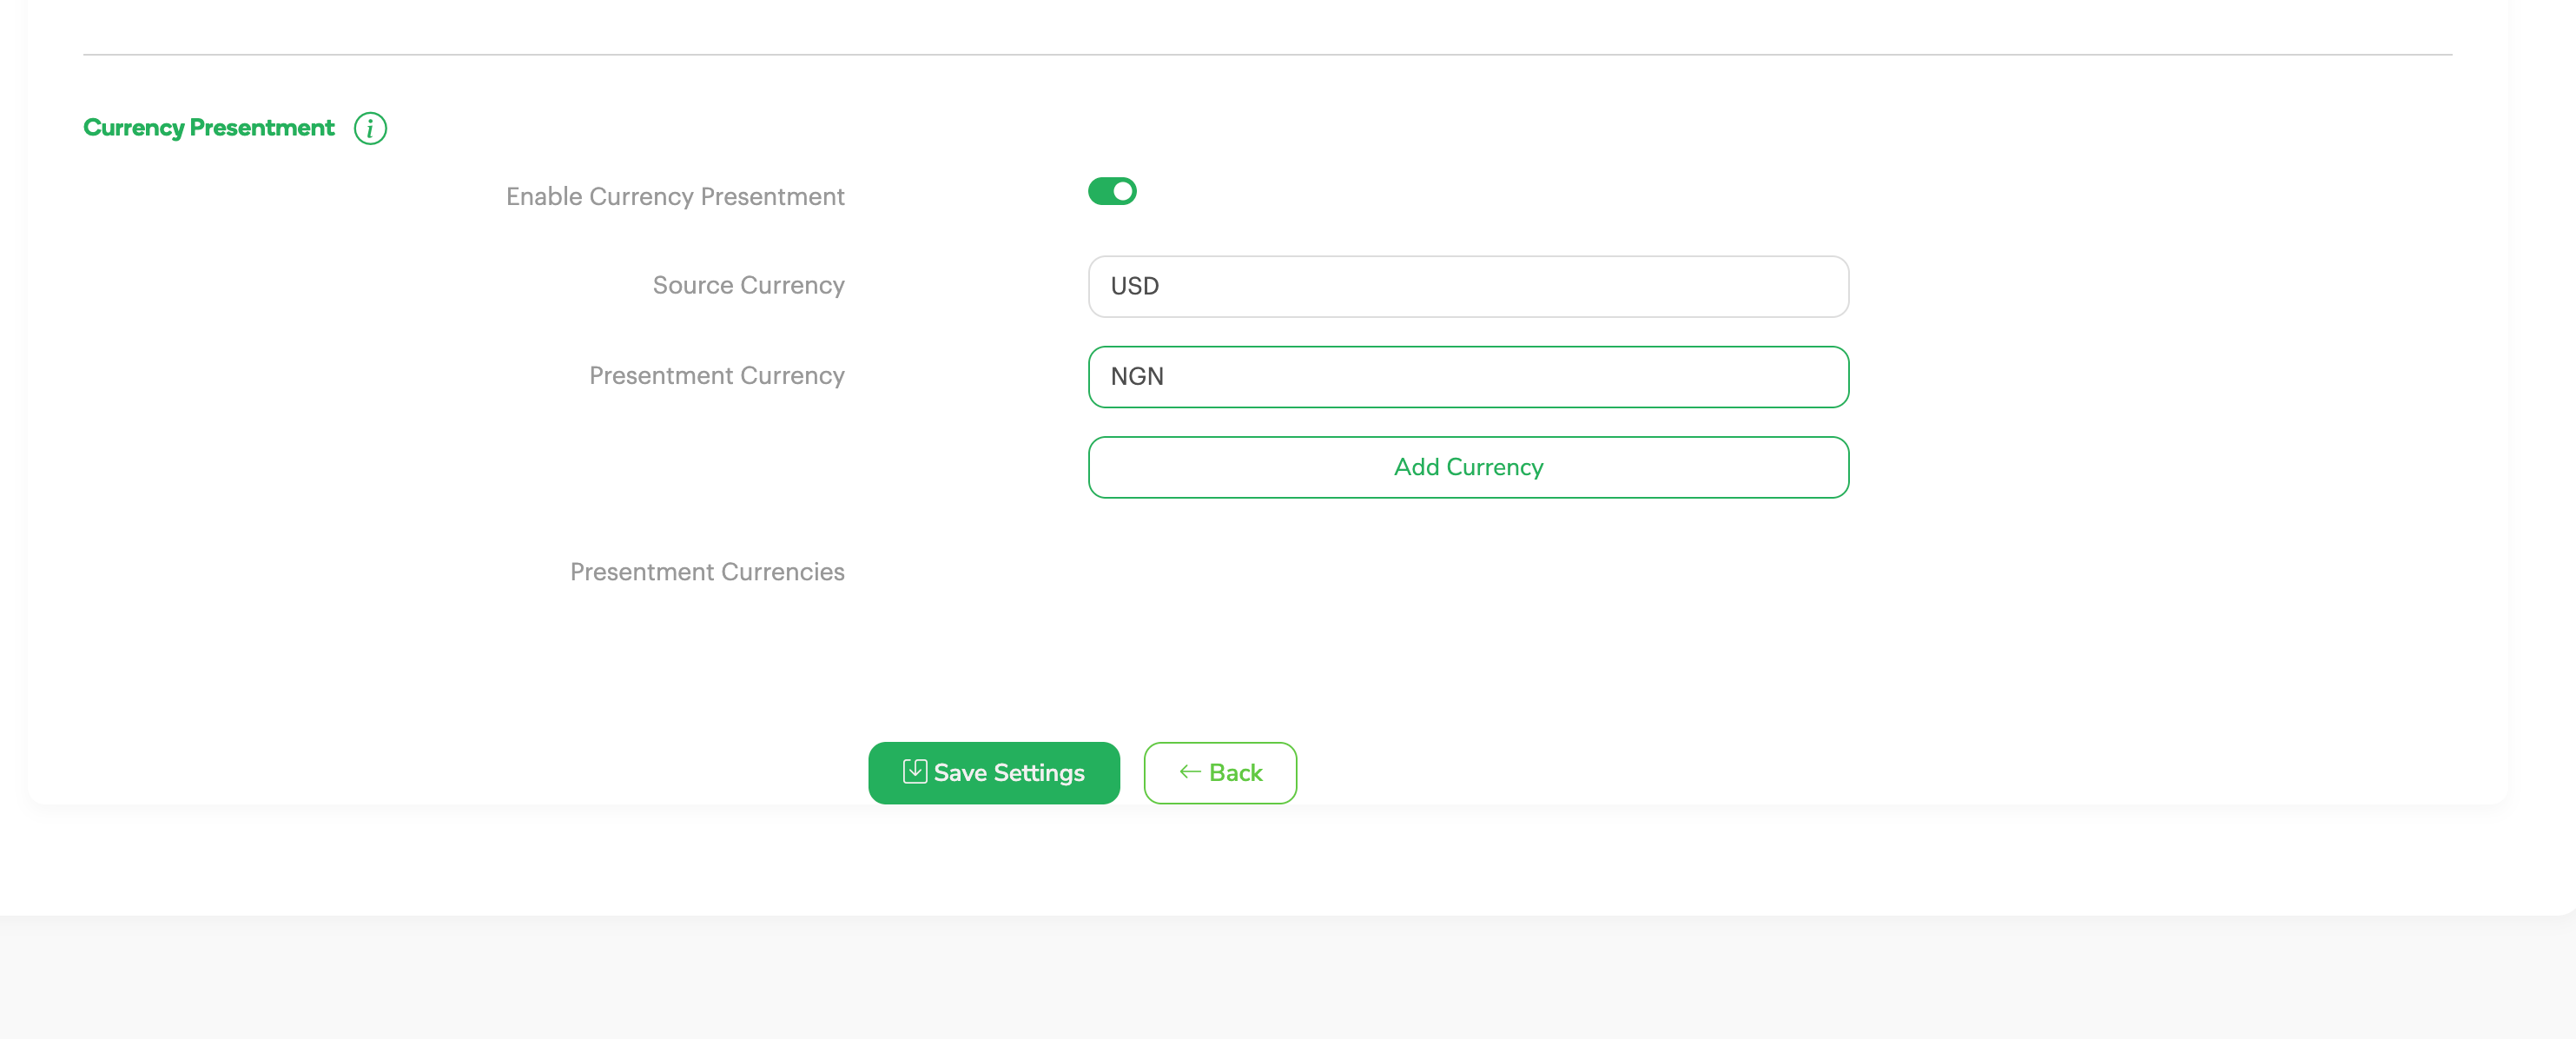
Step 4: Select Your Presentment Currency
Instructions:
Choose the currency customers will see and pay with at checkout (e.g., NGN, KES, ZAR e.t.c).
This is the currency you’ve been enabled on Paystack to receive payments in. Please ensure your business is allowed to accept payments in the currency you choose; otherwise, customers may encounter errors at checkout. You can confirm supported currencies here: Country & Currency Availability
Screenshot:
Step 5: Add and Save Currency
Instructions:
Click “Add Currency” to confirm your selection.
Click “Save Settings” at the bottom of the page.
Screenshot:

How Local Currency Presentment Works
Prices are displayed in a currency chosen by the merchant on their website.
At checkout, Paystack converts the cart total into the presentment currency the merchant has chosen on Paystack.
Settlement always happens in the merchant’s selected presentment currency, regardless of the currency displayed to customers.
Using Currency Presentment helps you offer a smoother checkout experience for international customers while ensuring you continue to receive settlements in your preferred currency.
If you’re ready to get started, follow the setup steps above.
Need help? Reach out to us at techsupport@paystack.com