How to set up Paystack on Shopify
Shopify is a widely used e-commerce platform offering a content management system (CMS) plugin for seamless website integration. The Shopify CMS plugin is favoured for its user-friendly interface, allowing businesses to efficiently manage and customize their online stores without extensive technical knowledge.
Setting up Paystack on Shopify
Log in to your Shopify Admin Dashboard and click Settings on the bottom-left corner of your screen.
On the left-side menu, click on Payments. Then, under Supported Payment Methods, click on Add Payment Methods.
On the Add Payment Methods screen, click the Search By Provider tab, type Paystack in the search field and select Paystack from the results.
On the next screen, you'll see some information about the Paystack plugin under 'About Paystack' and the status of the plugin installation in your store. Click on the Connect button on the next screen that shows.
You'll be redirected to a page asking you to confirm that you want to install the Paystack App to your store. Click on Install App.
Once the installation is complete, you'll be redirected to a Settings page to configure the plugin by adding your API keys. Enter your API keys and click Save.
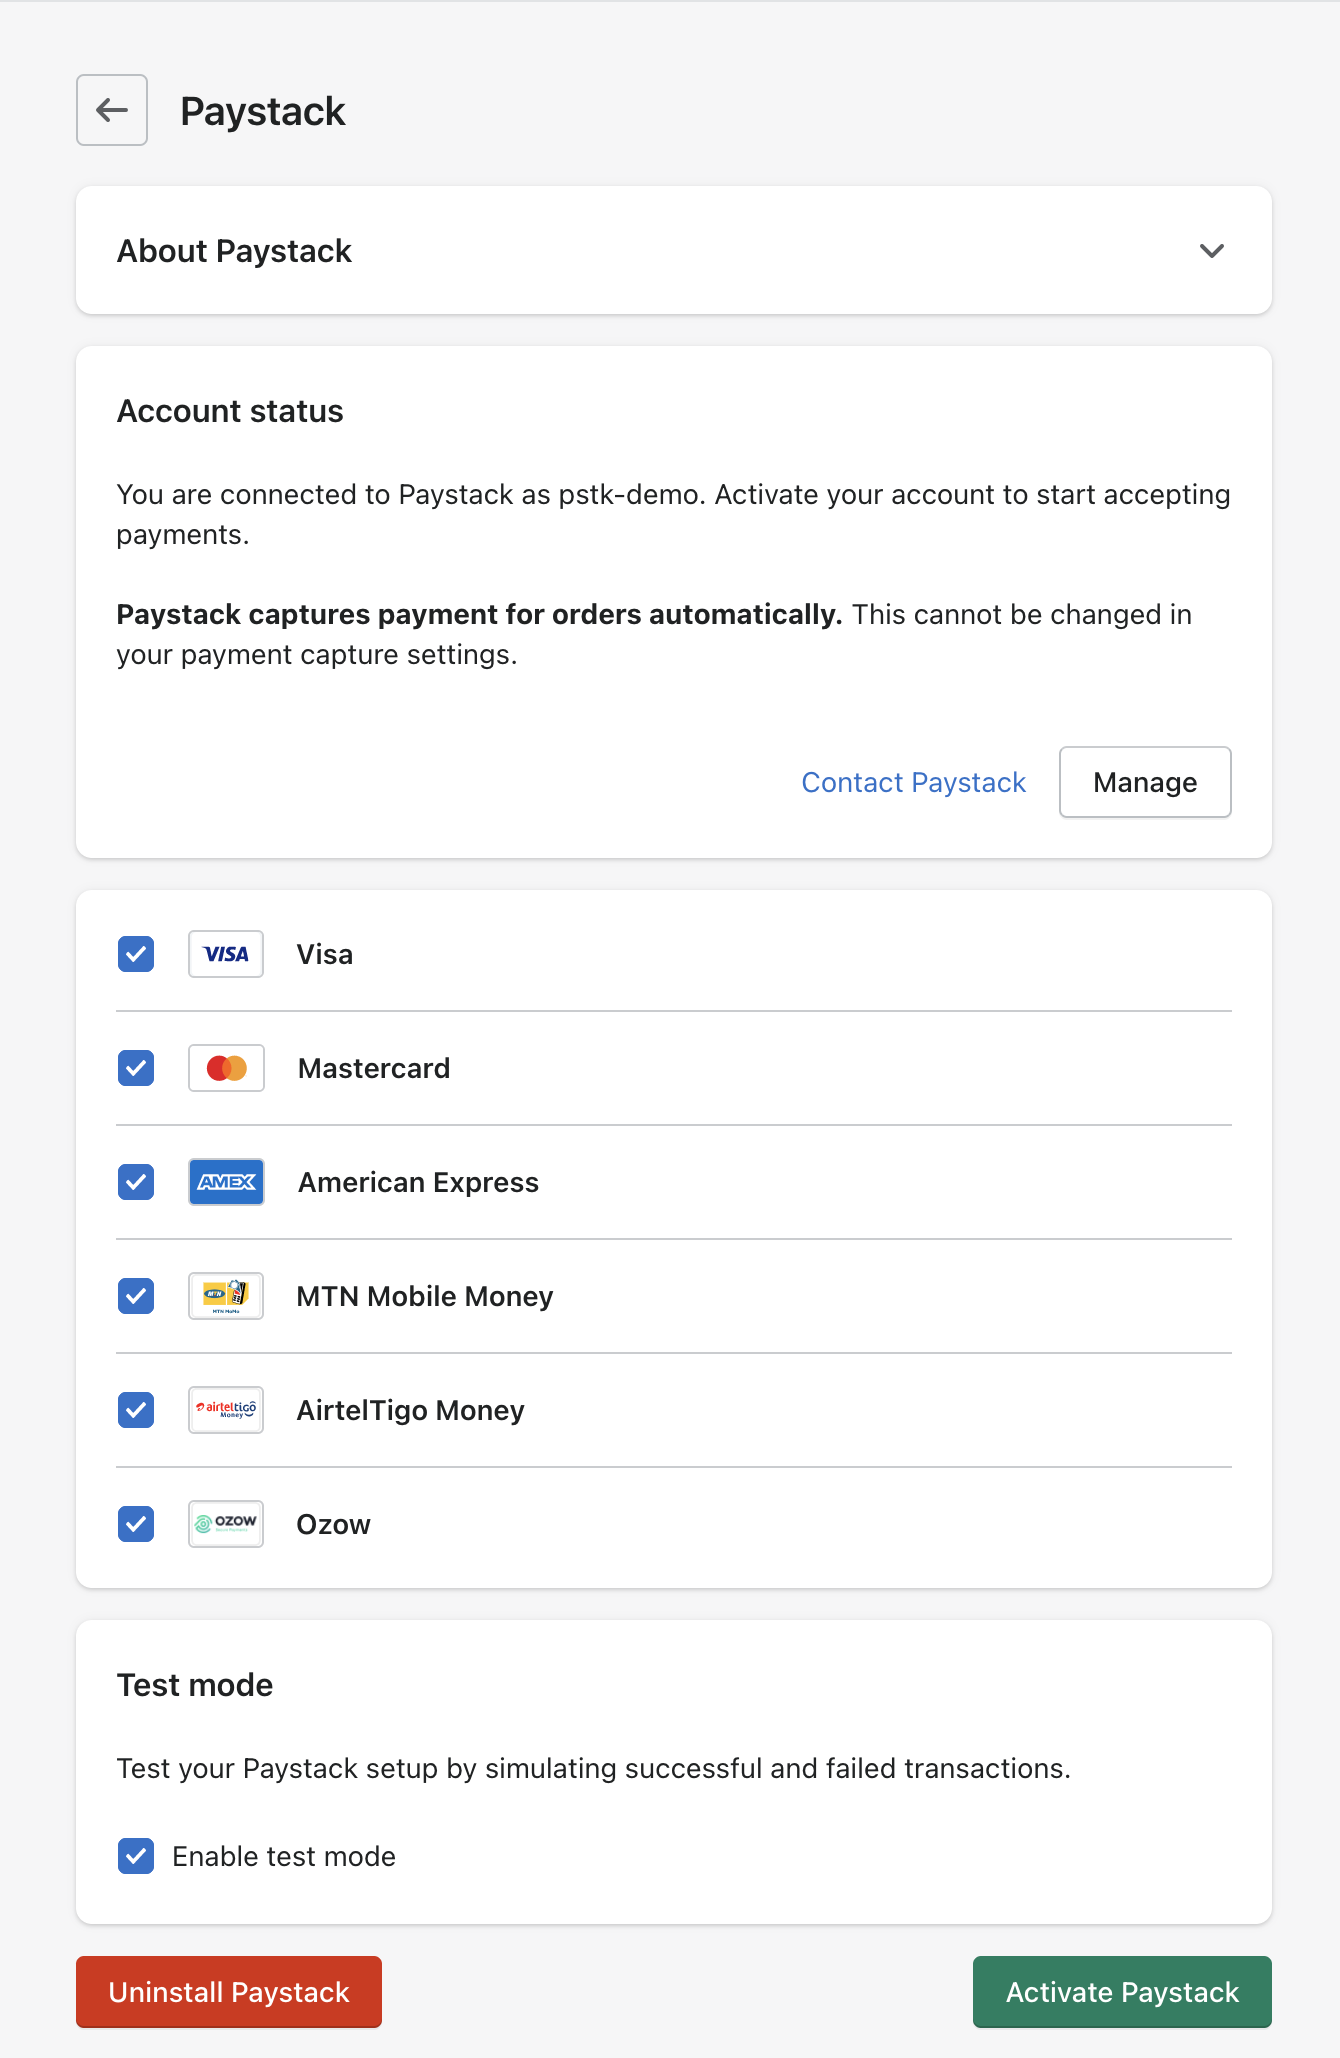
Once this is done, you'll be redirected to the Settings page for the Paystack app on your Shopify Admin Dashboard. Click 'Activate Paystack' to make Paystack available for your store's payment process. You can also select the payment logos displayed on the Shopify checkout page. By default, all payment logos are enabled, but if specific payment methods aren't available in your market, please don't hesitate to untick the relevant boxes to remove them from your checkout.
You can also check the 'Enable Test Mode' checkbox to use the plugin in test mode (use your test keys to process transactions. Remember, in test mode, no real money is paid).
To update or change your API keys at any time, click the Manage button, and you will be redirected to the Settings page to make the change.
Important to note if you have the old Paystack Shopify gateway (pre-July 2022)
If you have the old payment gateway, you can deactivate this (and uninstall it if you wish) by following these steps:
Log in to your Shopify Admin Dashboard and click Settings on the bottom-left corner of your screen.
On the menu on the left side, click on Payments. Then, under Supported Payment Methods, click 'Add Payment Methods'. Under Supported Payment Methods, you can find the old Paystack payment method.
Click on the Manage button.
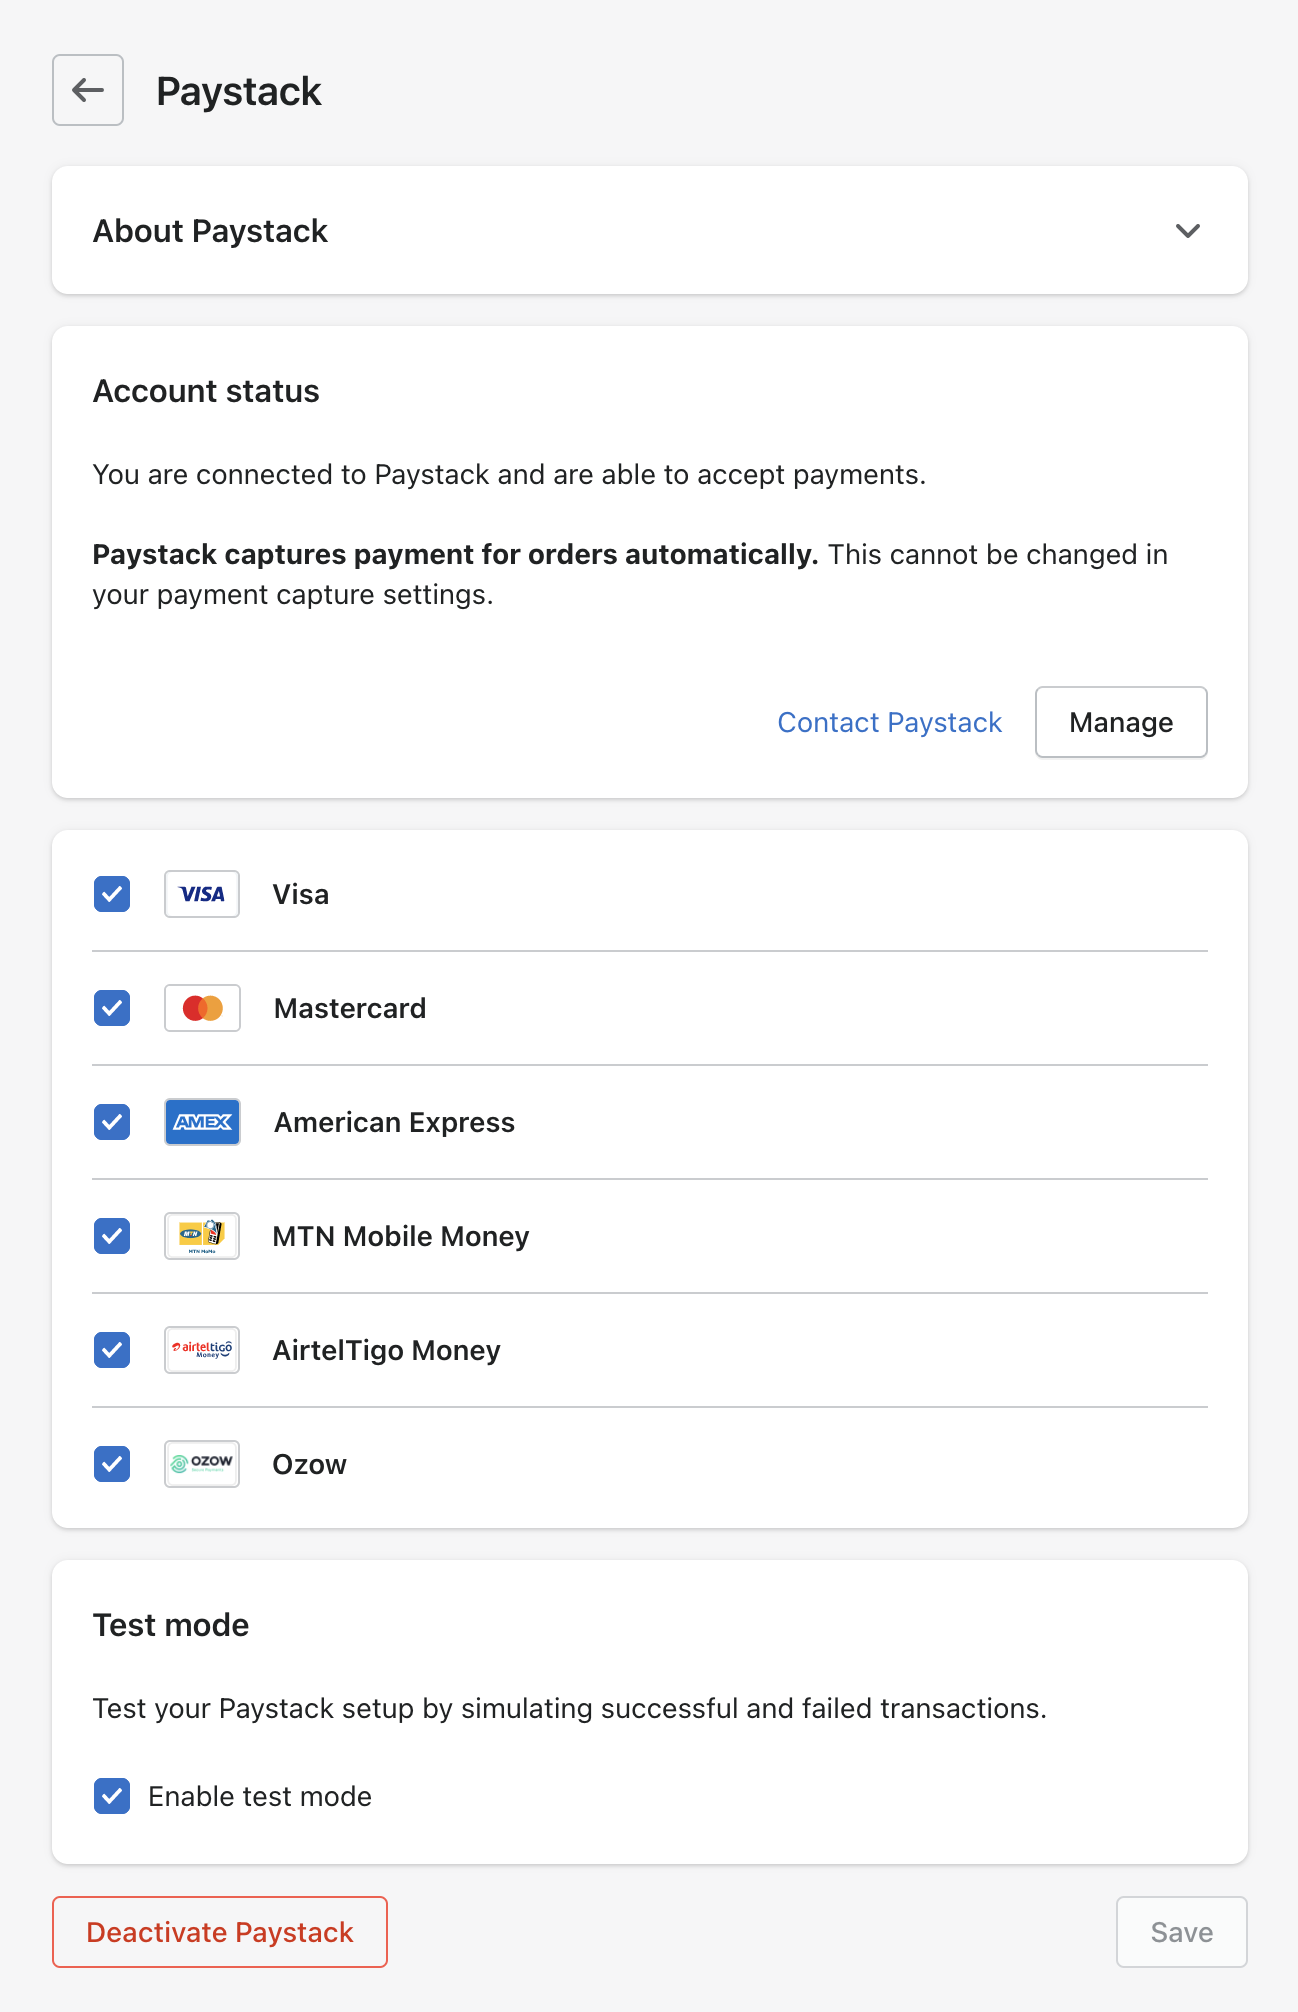
On the left side menu, click on Payments. Then, under Supported Payment Methods, click on Add Payment Methods. At the bottom of the payment method information, click the Deactivate Paystack button.
After this, an Uninstall Paystack button will appear. You can also click on this to uninstall the old Paystack payment method completely.
Just so you know, deactivating the old gateway also removes it from your Shopify checkout, so your customers will not see it when they want to pay in your store.
If you encounter any issues while integrating the plugin, please contact us at techsupport@paystack.com or via our contact form.
Reconciling payments with Shopify
You don't need to manually reconcile payments on your Paystack account with your Shopify orders, as Shopify automatically updates orders upon successful payments processed through Paystack.
Important to note
Transaction references sent to Paystack are configured and generated solely by Shopify. Paystack is not involved in the generation of these references.
However, if you wish to reconcile payments manually, you can use the methods outlined below.
Batch reconciliation using CSV
On your Shopify Dashboard
Export the orders from your Shopify store using the export function. You may open this file in Excel.
If you scroll to the far right, you will see a column ‘Payment ID.’ This is the unique reference generated by Shopify.
On your Paystack Dashboard
Go to the transactions tab on your Paystack Dashboard, click the 'Export CSV' button, and select 'Send CSV to email.'
Below is a video showing how you can select the columns you want to export to ensure that the Shopify payment ID is exported:
Open the downloaded CSV in Excel and locate the column titled ‘Shopify Payment Id.’ This column contains the unique reference Shopify sends to Paystack and can be reconciled with the Payment ID on your Shopify orders.
Advanced Excel users: consider utilizing functions like MATCH or VLOOKUP to streamline the reconciliation process between the two datasets.
Manual reconciliation
On your Shopify Dashboard
When you open an order that’s been processed with Paystack, there's a line in the timeline inside the Shopify Order that says, ‘A XXX payment was processed on Paystack.' Click on this line to open a drop-down.
There, you’ll see a parameter 'Payment ID.' This is the unique Payment ID value generated by Shopify. It’s also the Paystack transaction reference. Copy this value.
On your Paystack Dashboard
Navigate to your transaction tab. In the search bar, paste the Payment ID and hit search. Select the transaction result to access its payment details.
Locate the field labelled 'Shopify Payment ID.' The value entered in this field should match the 'Payment ID' parameter on your Shopify order details page for your reconciliation process.
If you encounter any issues while integrating the plugin, please contact us at techsupport@paystack.com or via our contact form.


