How to setup Paystack on Zoho Inventory
Zoho Inventory is an e-commerce solution built to increase your sales and keep track of every unit by providing you with stock management, order fulfilment, and inventory tracking and control.
Setting up your Zoho Inventory plugin
If you don’t have a Zoho Inventory account yet, you can create one here.
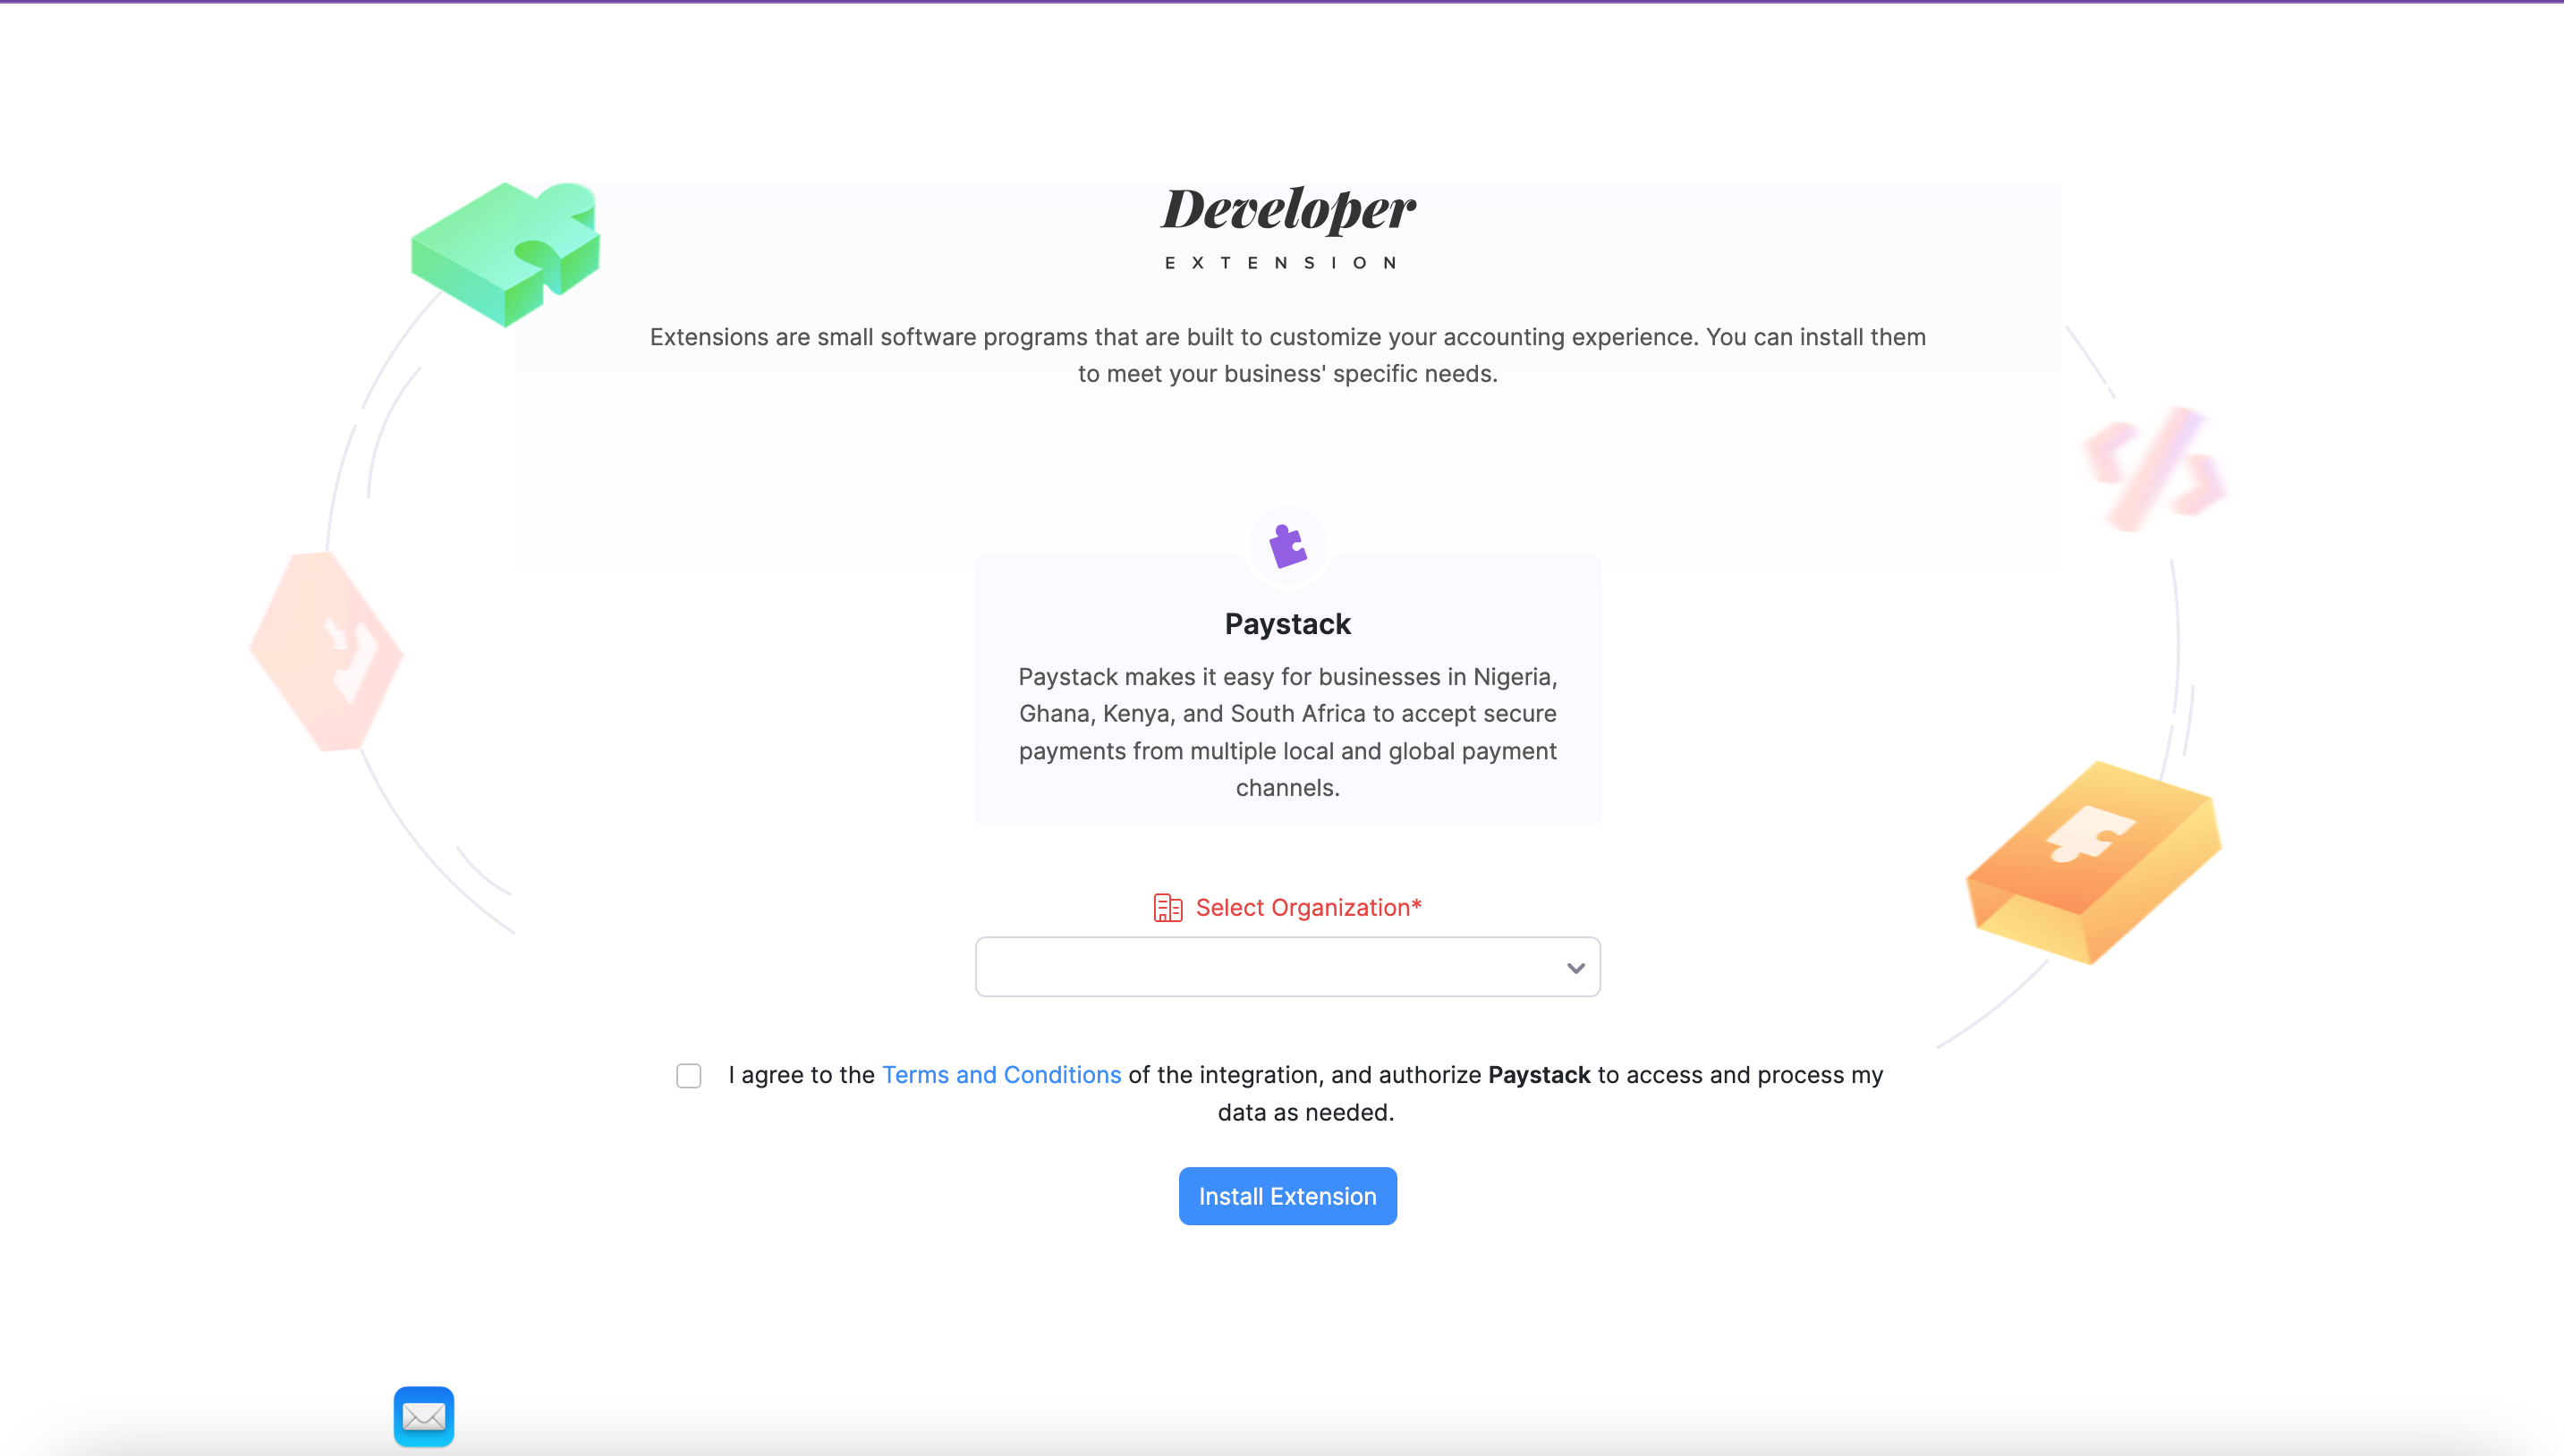
Download and install the Paystack extension here.
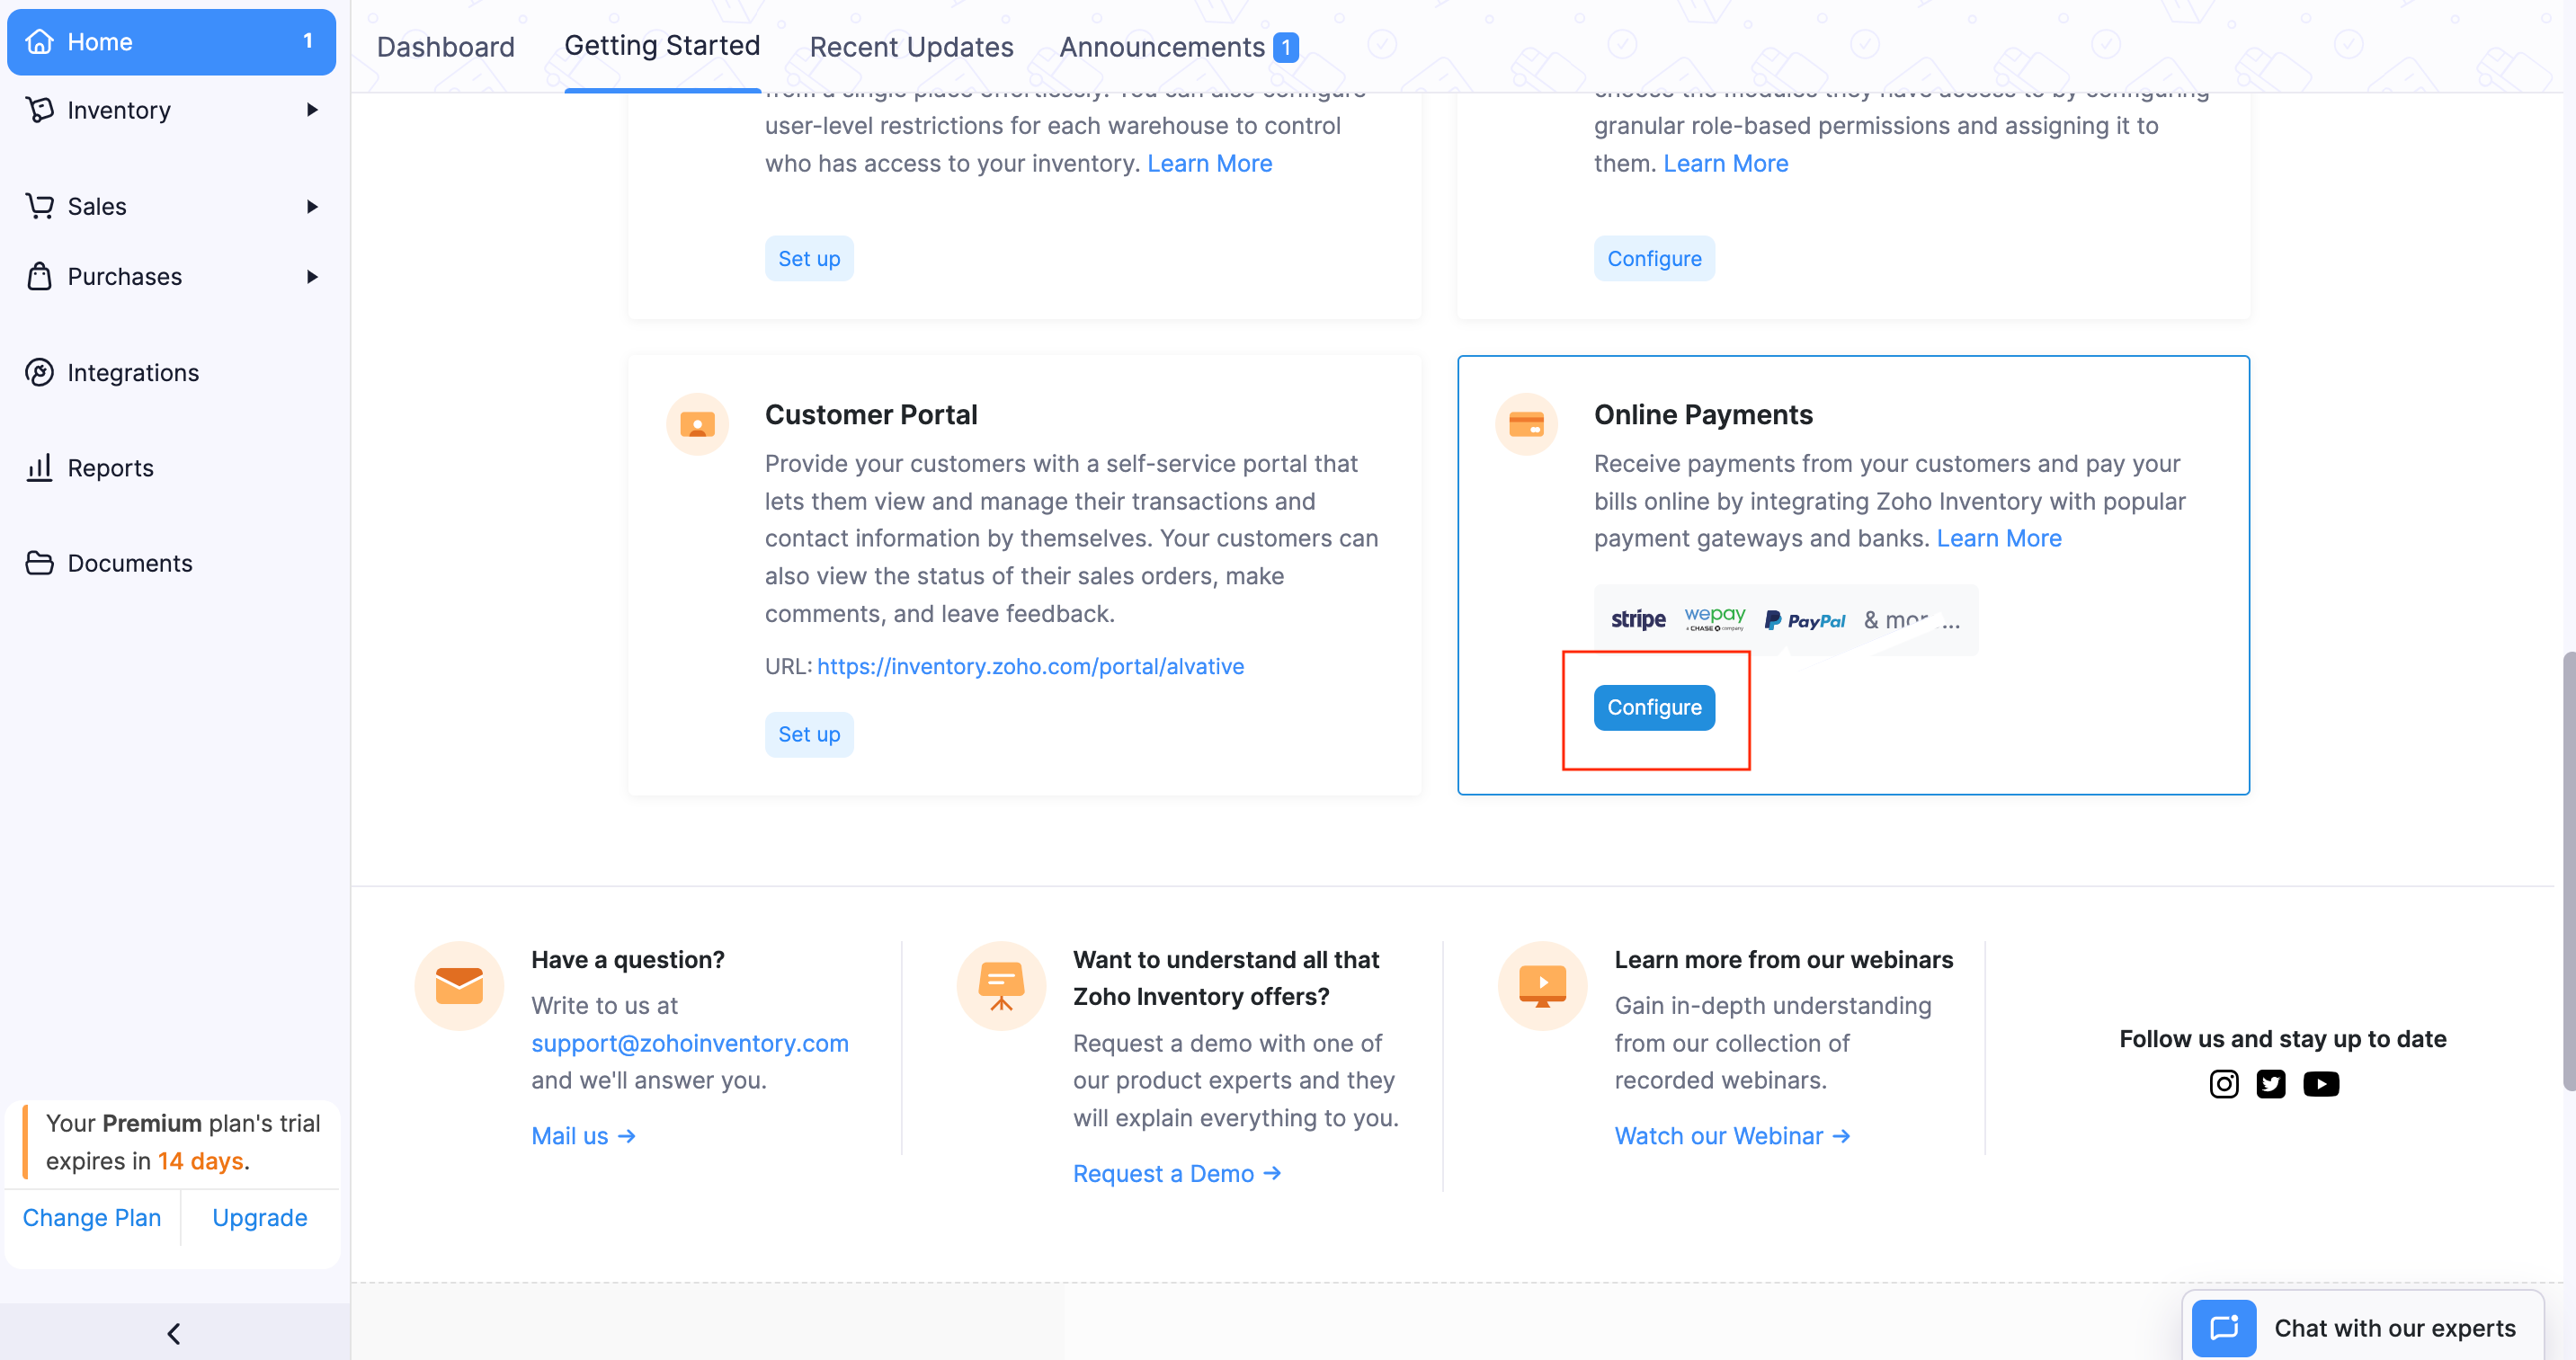
After installation, go to Home → Getting Started → Online Payments and on the Configure button.
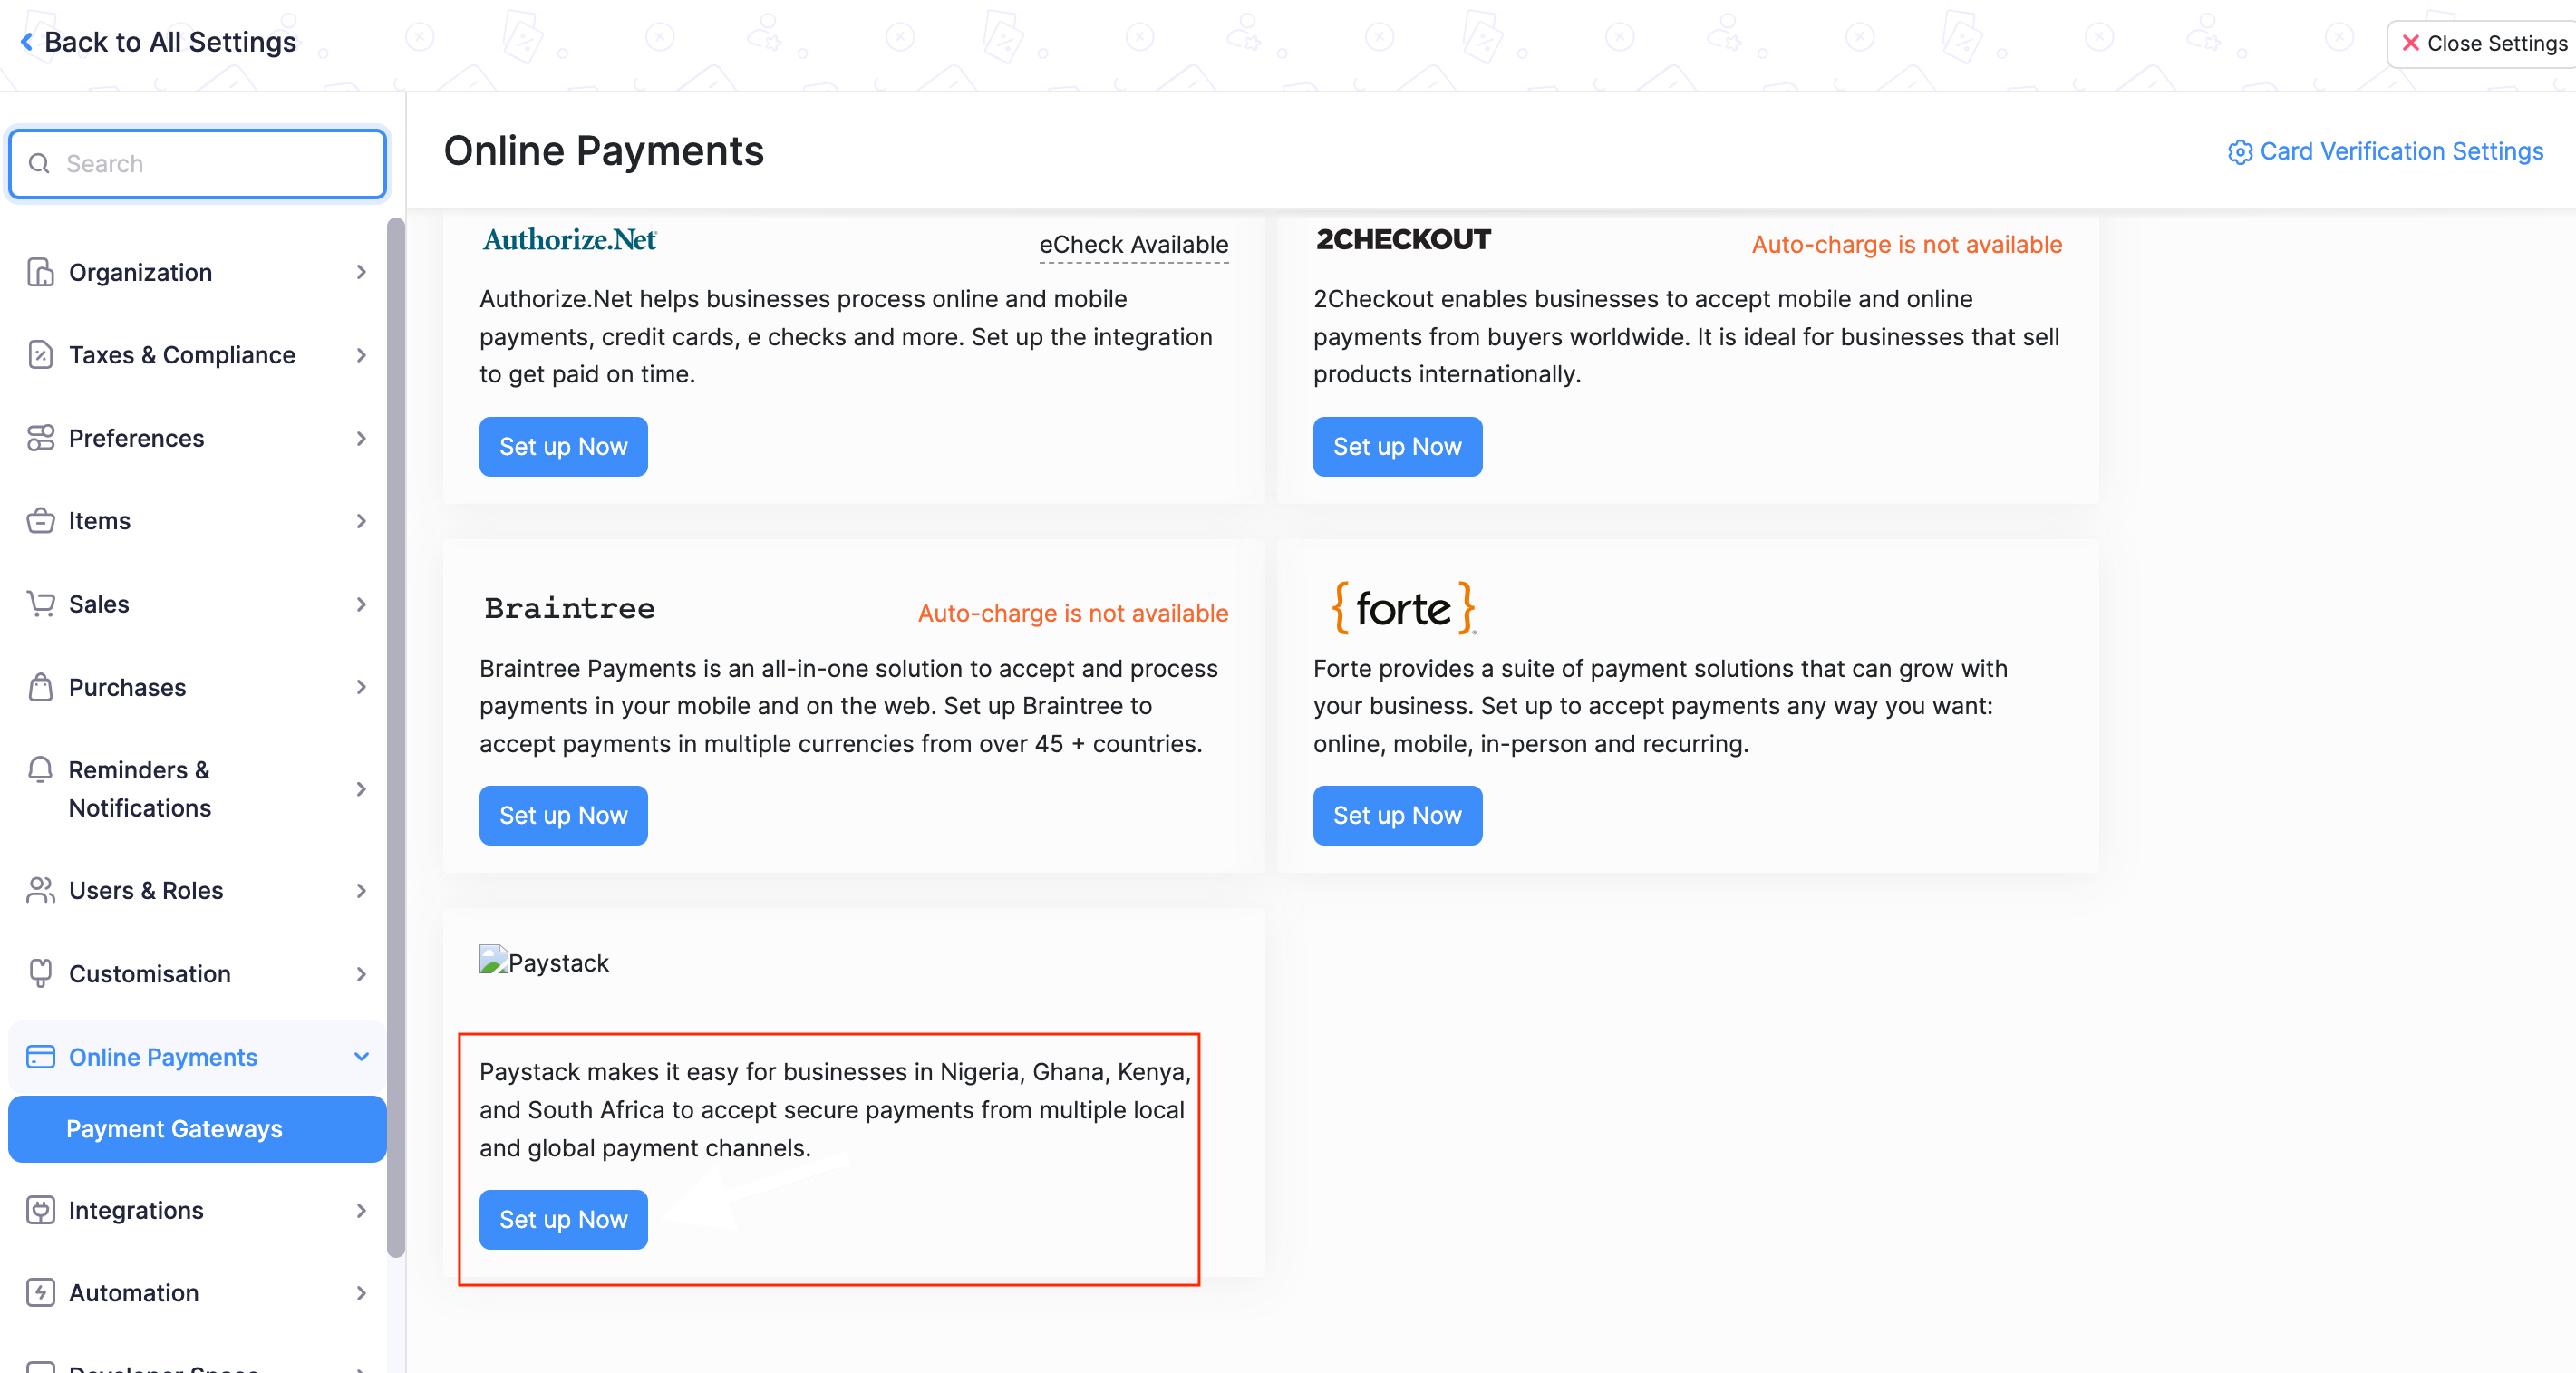
Choose Paystack from the list of payment gateways and click the 'Set up Now' button.
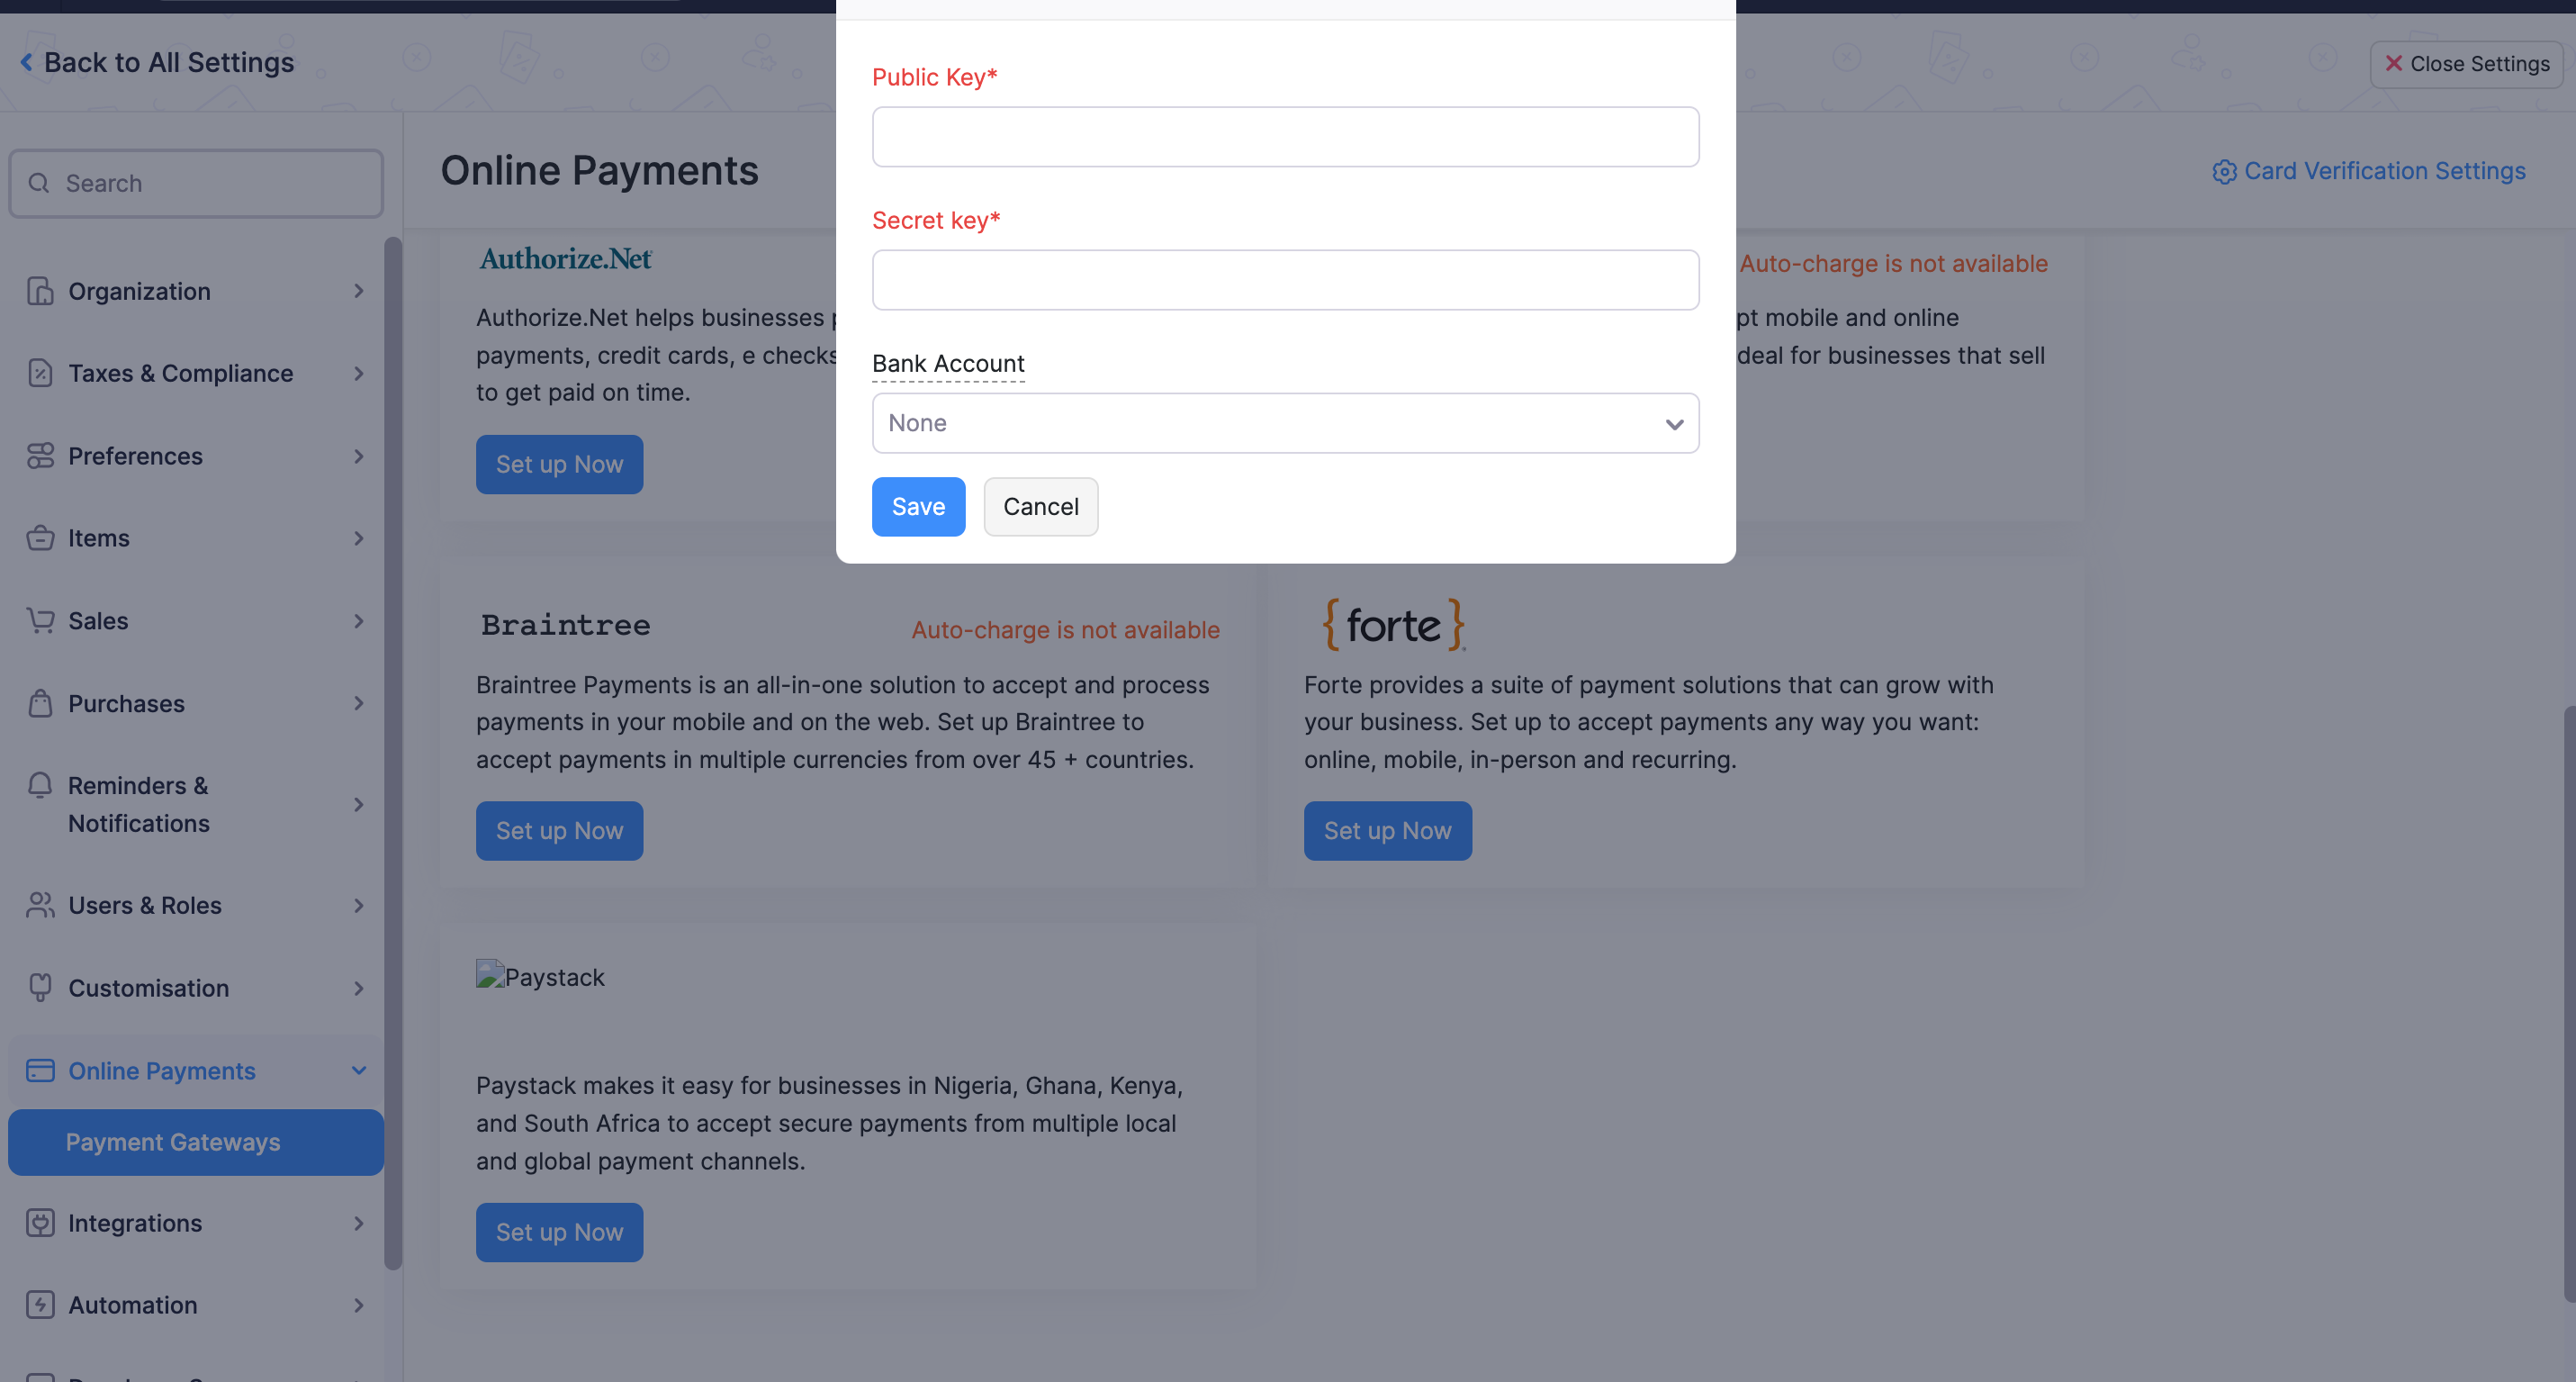
You’ll be prompted to provide your Paystack API keys. You can get your Test and Live API Keys from the Settings page on your Paystack Dashboard. Copy and paste your API keys
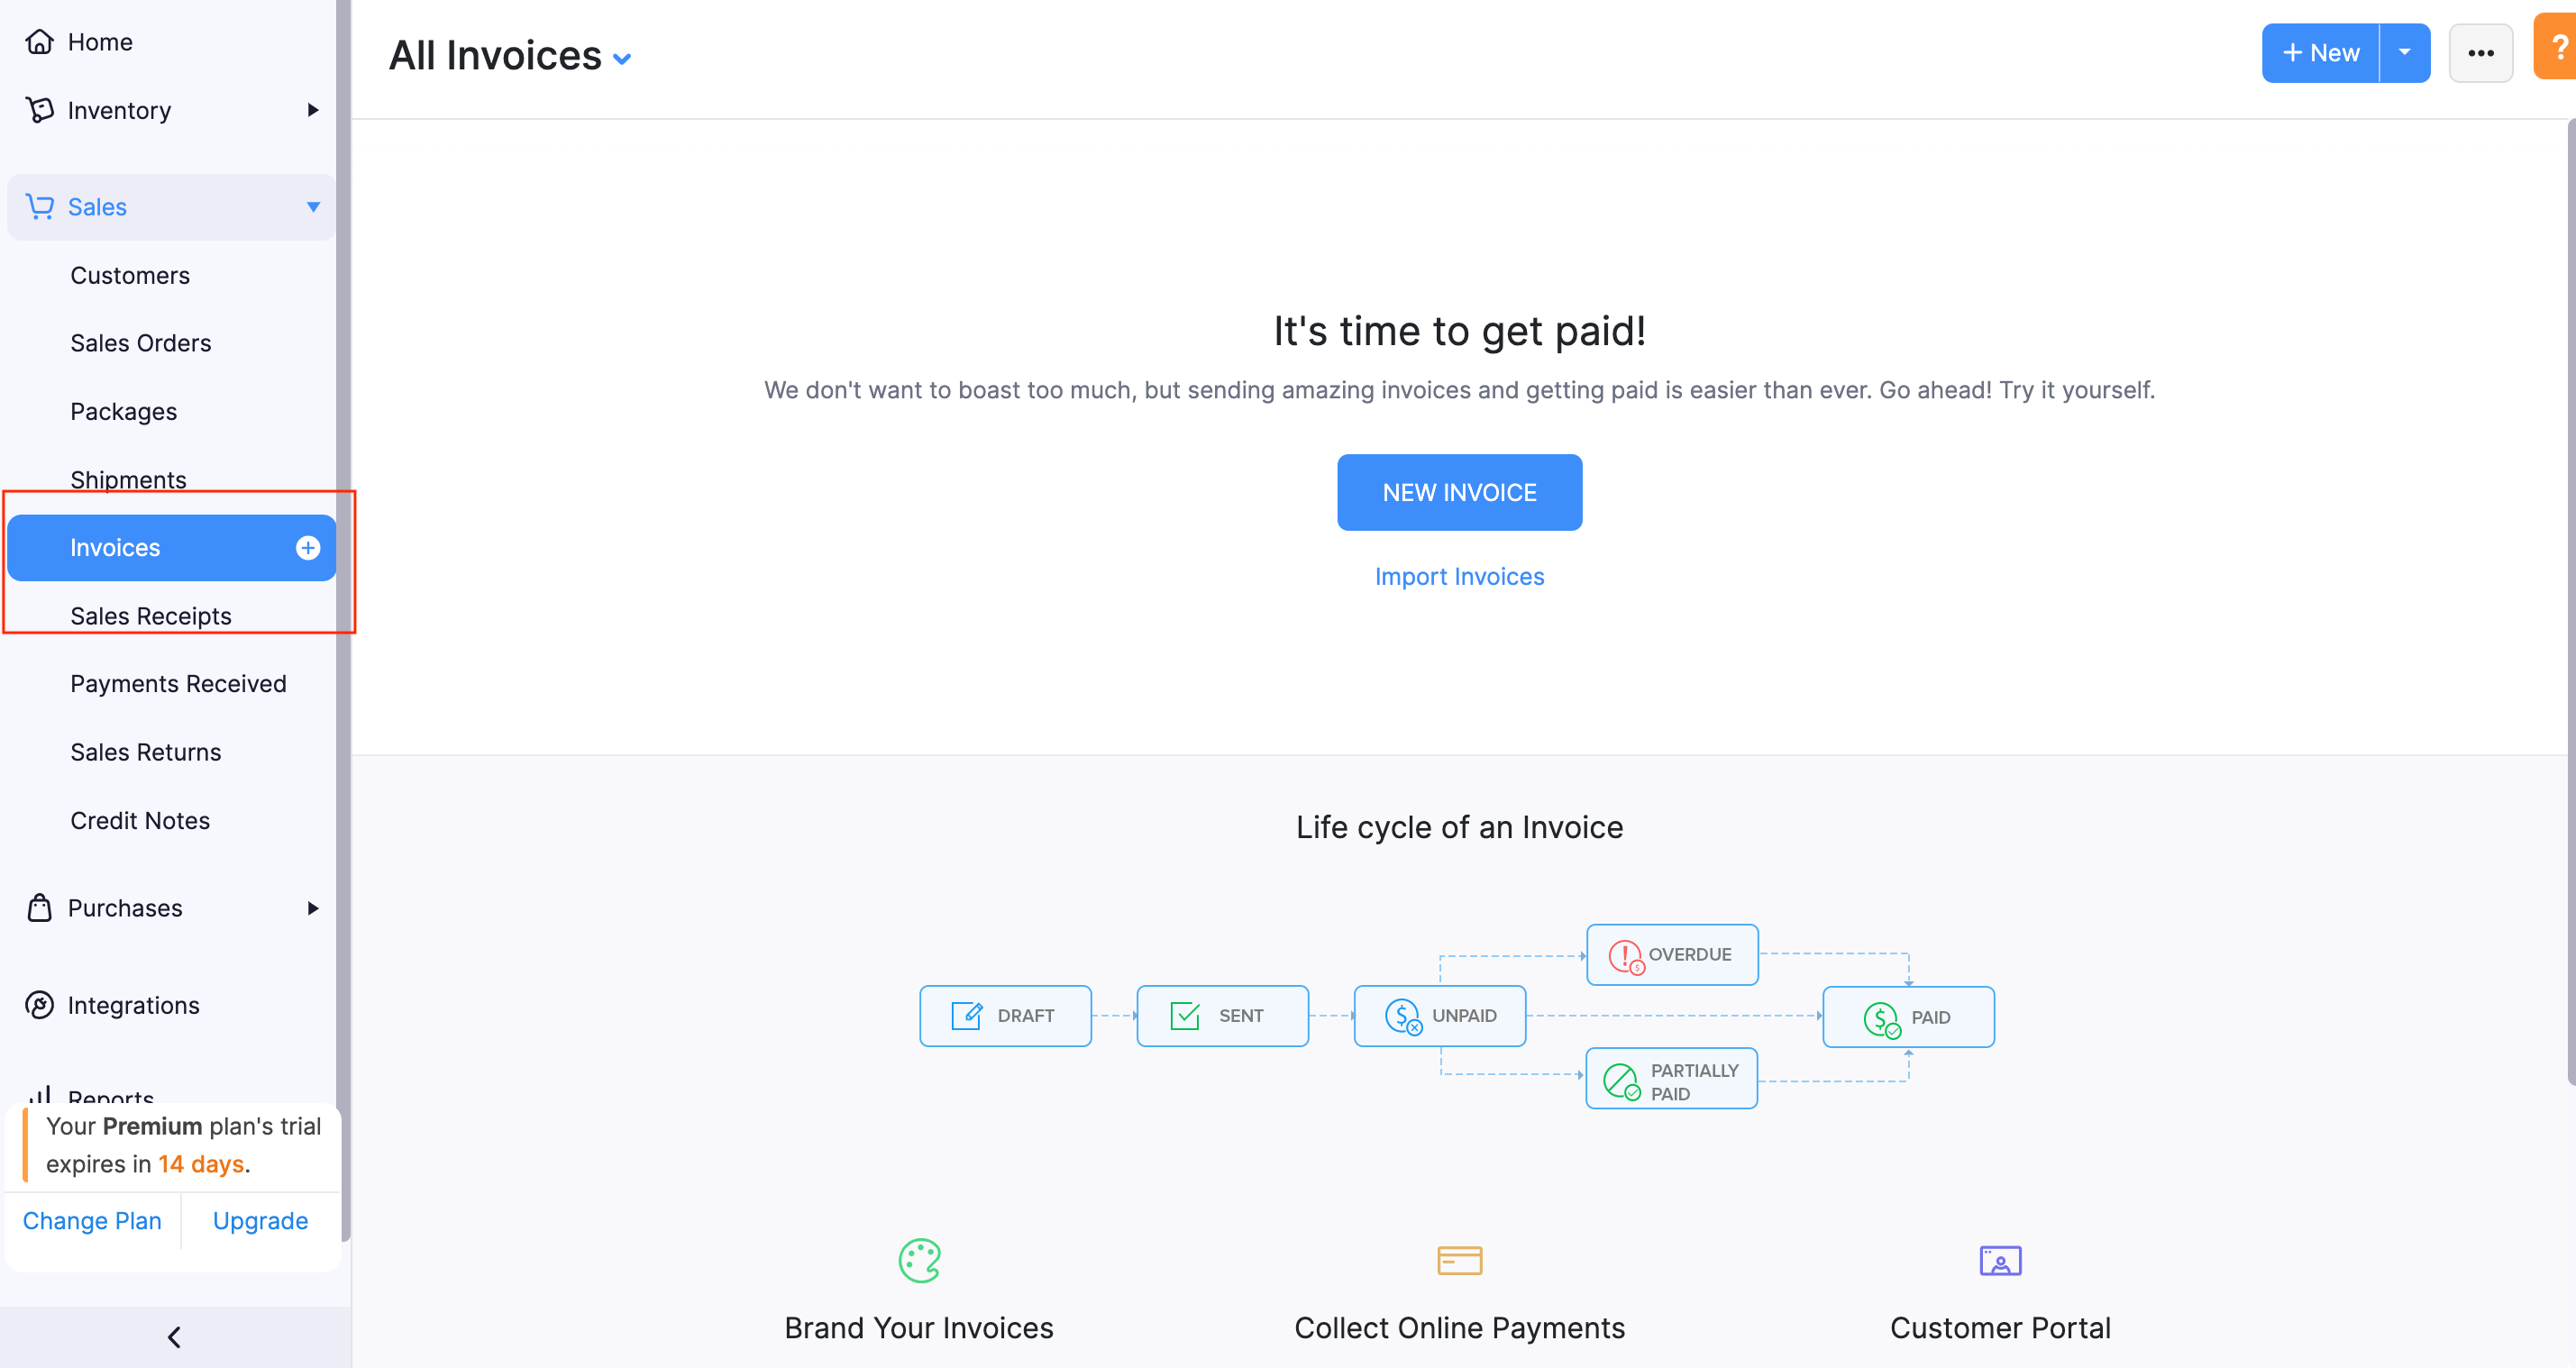
To test the plugin, you can create an invoice for payment. Go to Invoices under the Sales tab to create an invoice for payment.
After creating an invoice, click the 'Save and Send' button to share it with the customer for payment. If you have set up Paystack correctly, your customers should be redirected to the Paystack checkout page to make payments when they click the link sent to their email.
If you encounter any issues while integrating the plugin, please get in touch with us at techsupport@paystack.com or via our contact form.

